THE INSPIRATION FOR THE FLOWERS
INSPIRED BY NATURE
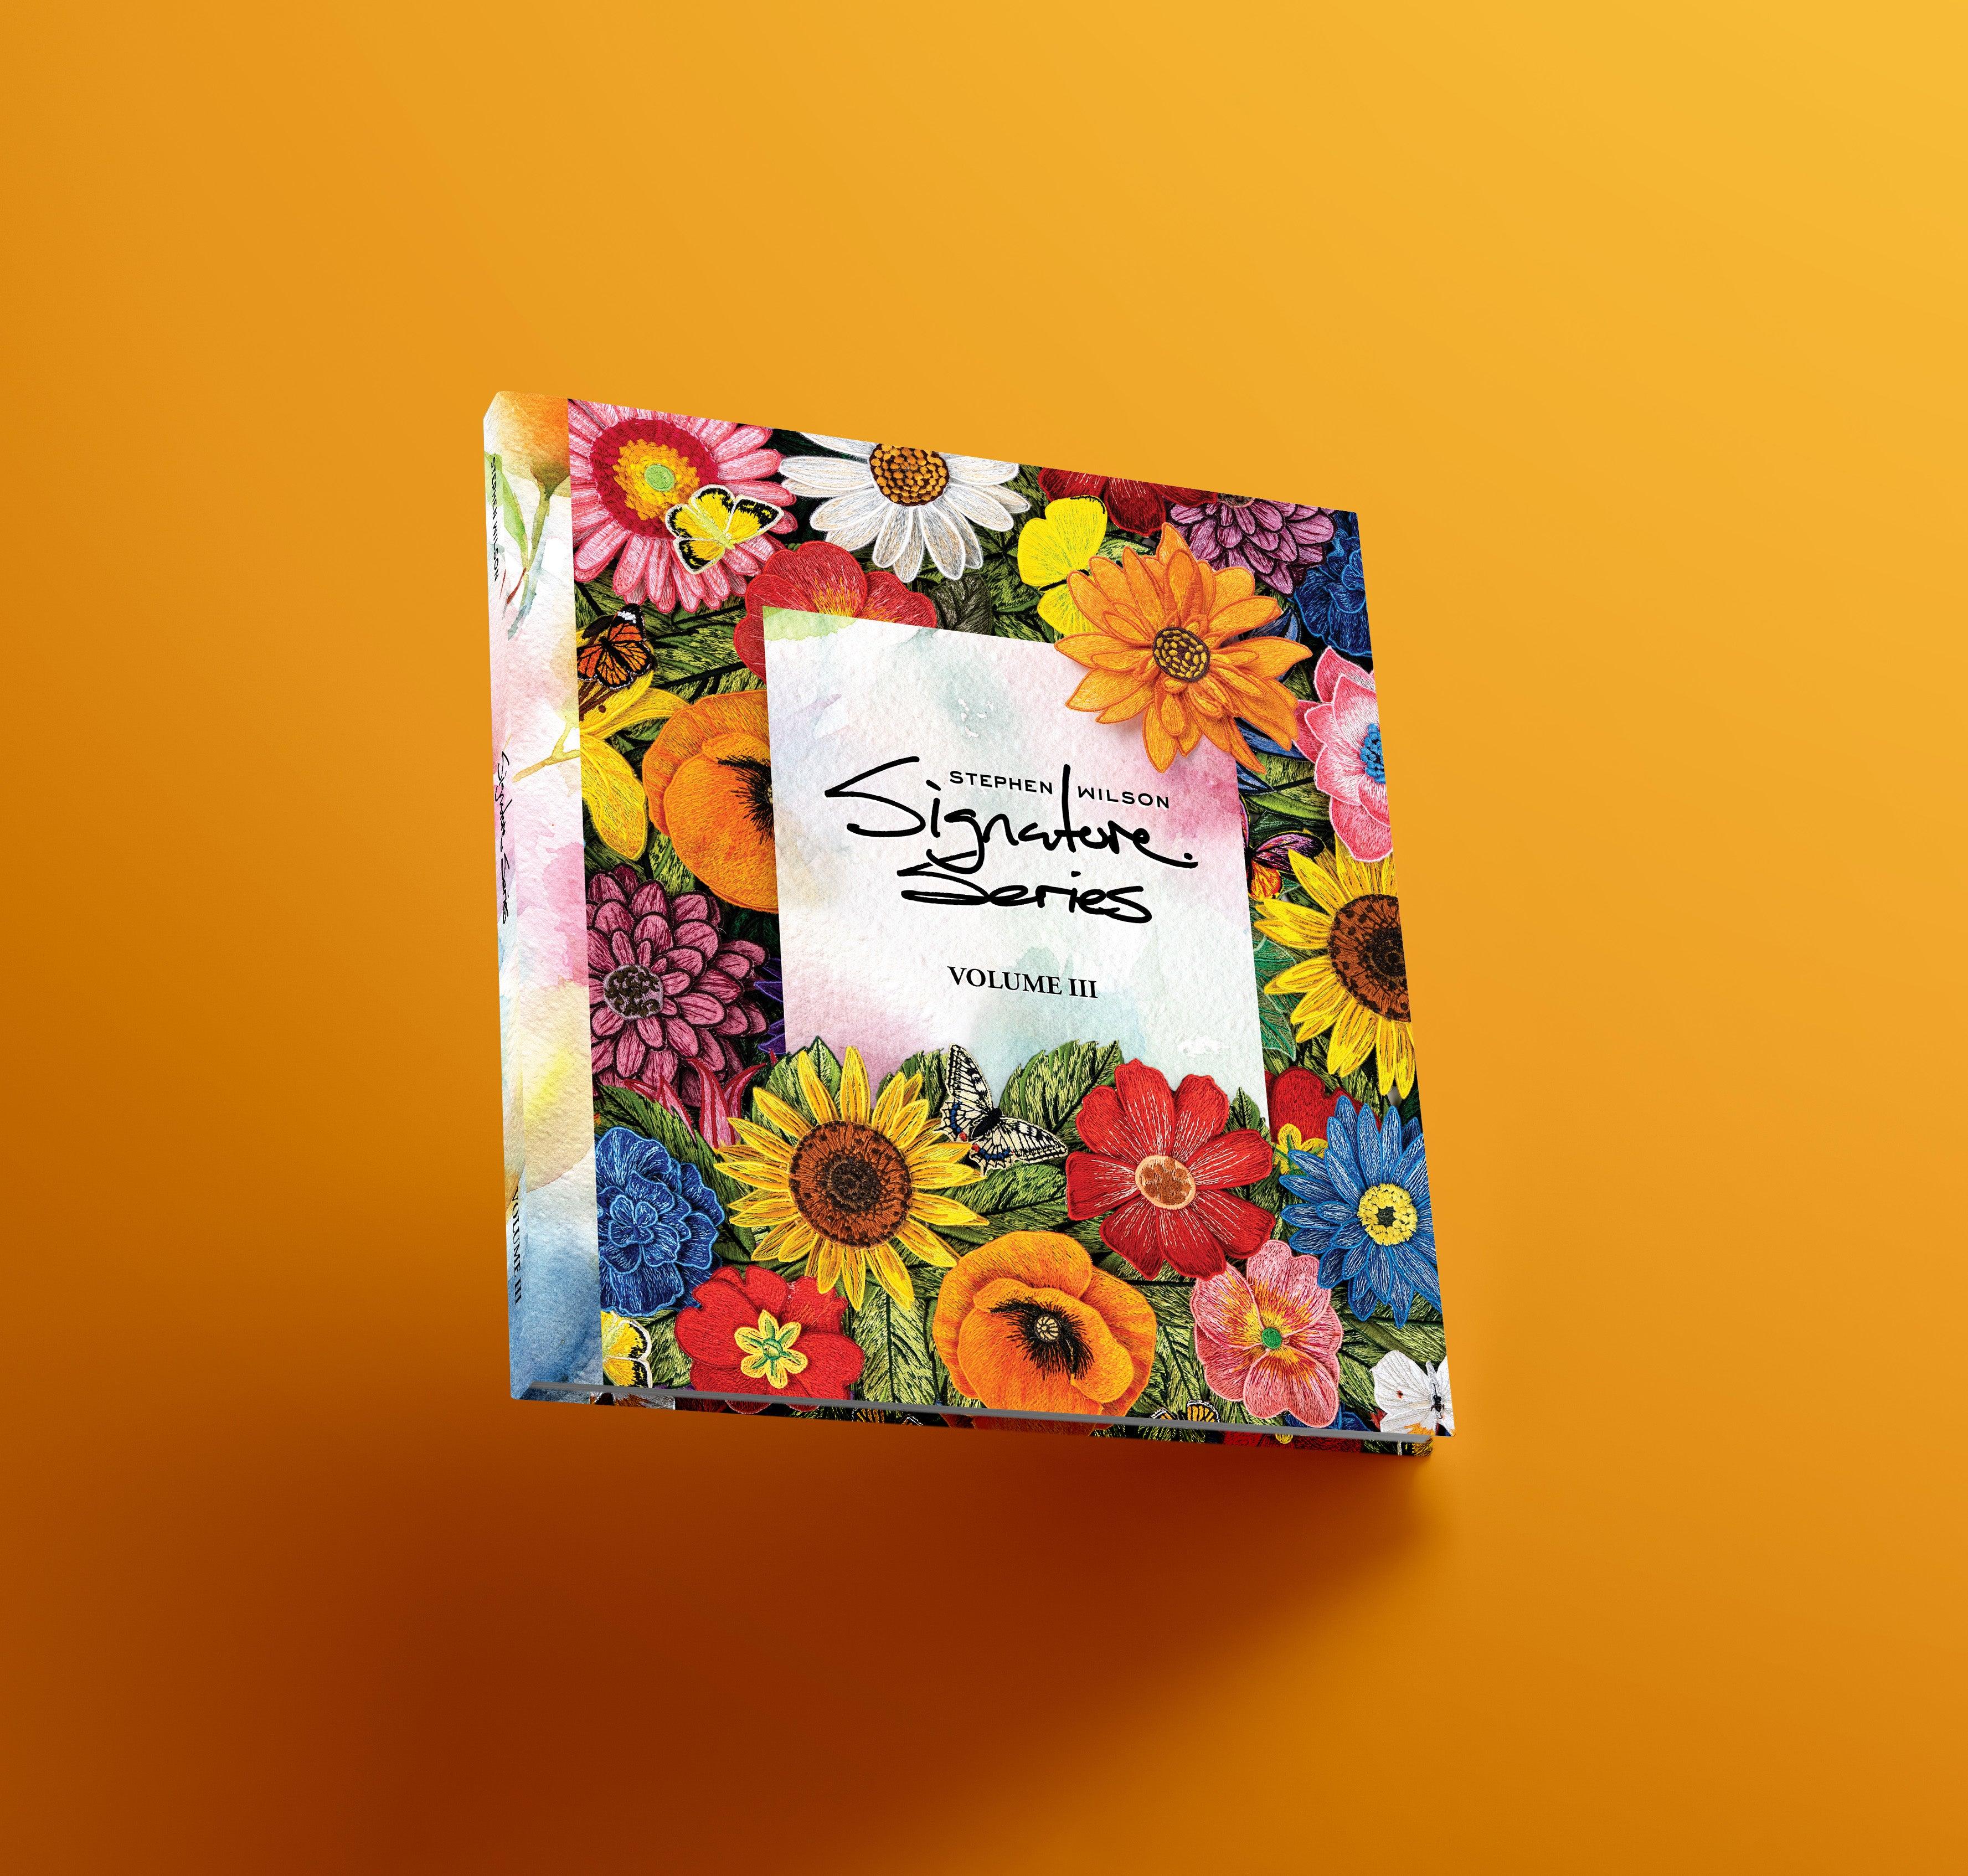
Just like real flowers, these blooms have each been sketched to include multiple layers of freestanding embroidered pieces, creating overlapping petals just like real flowers possess. From magnolias to poppies, Wilson has included an array of 30 three-dimensional flower species to choose from, along with a selection of loose petals and leaves, that can combine together to create embroidered bouquets and various floral-inspired works.
CHOOSING THREADS AND FABRICS
In order to create these dimensional flowers, gathering the necessary notions is an essential first step. While these designs were developed and stitched on commercial embroidery machines in the studio, Wilson has digitized each design specifically for compatibility with the average home embroidery machine. This means the notions and other materials needed to create these 3D flowers are most likely already in your embroidery arsenal.
STITCHING OUT THE FLOWERS
Whether you can cultivate a successful bloom or struggle to remember watering your plants, these lush and layered flowers are the perfect element for all sorts of creative projects. Obtaining a realistic look to florals made of fabric and thread can prove to be a challenge. However, the beauty of these designs lends them to be stitched in any colorful variation (or even lack of color) that you can imagine and still create a breath-taking finish.
TRIMMING AND RINSING
Once the embroidered elements are finished stitching, you can remove them from the hoop. Using a pair of curved tip embroidery scissors, trim out each flower element from the organza. Cut close to the embroidered edge to remove the excess, taking care not to snip into any stitching. Now, gather a bowl full of hot, soapy water. Using a pair of tweezers, dip and rinse the embroidered parts to remove the excess stabilizer from around the designs. Once rinsed, you can lay the pieces flat to dry.
SHAPING THE PETALS
When it comes to creating the dimensionality and shape of these flowers, the secret lies in their rinsing. Rather than removing all traces of the stabilizer, a quick dip and rinse can preserve a bit of the water-soluble mesh in the bobbin thread of each piece. This excess stabilizer left in the petals will come in handy, acting almost like starch or stiffener. For shaping the petals, Wilson prefers to keep an inverted bowl nearby, generally only a few inches in diameter. Byre-dampening the petals slightly, they can then be molded to take on shapes or to sit on curved items, like the edge of the inverted bowl, to guide their drying shape. After the molded shape has been created, a hot glue gun is used to run lines of glue down the back of the petals. The dry glue will act as a “skeleton,” helping the formed petals keep the desired shape. Once dry, a drop of hot glue in their centers will help to join the various layers into the finished flower.

FINISHING YOUR FLOWERS
Using the bowl and hot glue method will help your petals maintain a “lifted” and lively appearance rather than drying into a flattened shape on a desk or work surface. You can also choose to manually dampen the petals on just their tips, forming their shapes by hand or with other objects around your craft space. The most important part of the process is using the glue to help keep the shapes. Once the petals dry out and their hot glue has solidified, the shape of the molded petals or leaves will remain in place, helping to convey the dimensional look of real flowers. At this point, it will be easy to complete your flower by adding a drop of hot glue in the center of each layer to join them together.
INSTALLING THE FLOWERS
You can choose to affix your flowers to brooch backs or pins to make interchanging them for the season as easy as swapping pins. For more permanent fixtures, installations as art, or to turn them into a bigger bouquet, a bit of well-bonded hot glue can be the perfect finishing element. My preferred presentation is, as expected, in the form of wall art. Shadow boxes or acrylic frames are best to showcase these beautiful blooms while not diminishing their dimensionality. You can source a variety of framing options or mounts from any local craft or hobby store, just let them know your final project’s desired dimensions.


