
How To Create A Pillow Out Of A Mini Quilt
Let's Get Started!
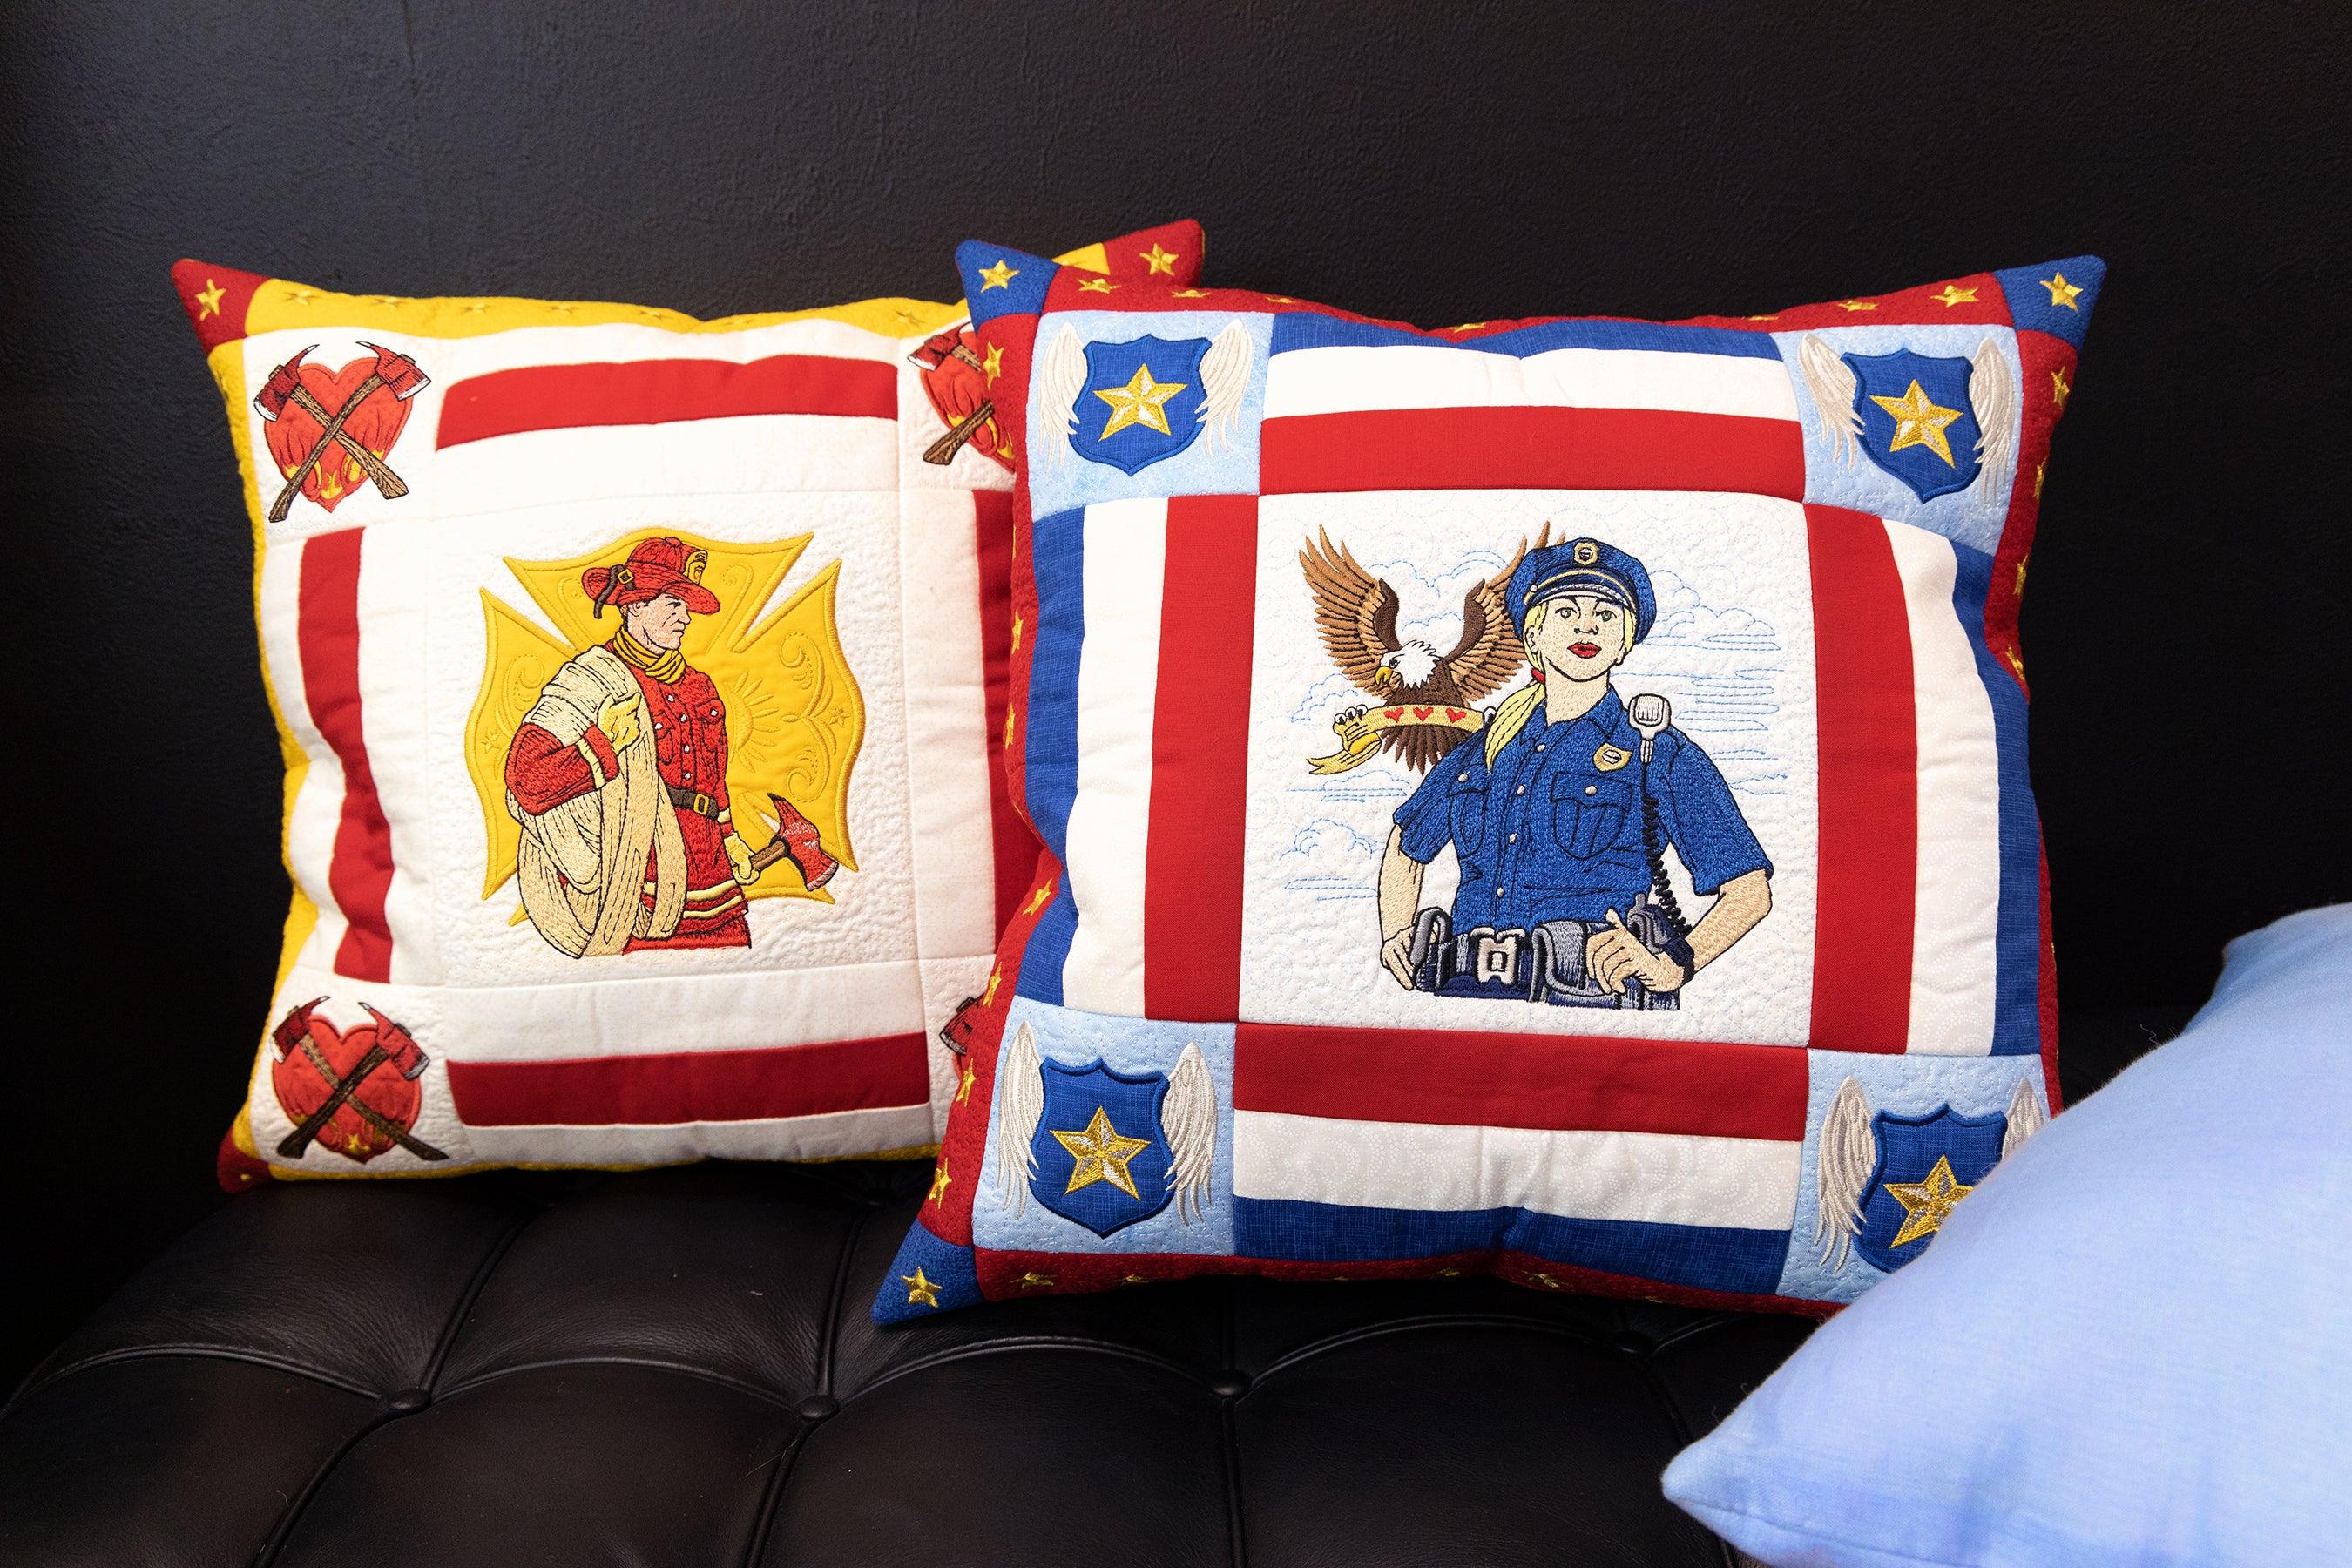
Take a mini quilt and create a cozy pillow! Now that the embroidery and four quilt blocks are finished and sewn together, we can begin crafting our pillow! Follow the steps below in order from A - F to complete on your own!
Step A :
Now that the embroidery is finished, you can continue with the pillow.

Step B :
Attach the front and back fabric's faces together and pin in place.

Step C :

Step D :
Using scissors, trim the corners of the pillow, so that it will be easier to turn the project.

Steps E & F :
E: Next, turn the pillow right side out.
F: After turning the project, take the polyfill and place it inside the pillow through the hole. Continue to fill the pillow until you have reached the desired fullness. Next, fold the raw edges of the hole inward, then use pins to close the hole shut.

Final Step!
Finally, take a sewing needle, sew the pillow hole shut, and remove the pins as you go. Trim any excess thread, and your pillow is now complete!