
|
ANITA GOODESIGN | Anita's Tutorials Machine Embroidery Scissors Build the cutting toolkit every embroiderer needs |
|
GUIDE TYPE Beginner Friendly |
TOOLS COVERED 11 Scissor Types |
FOCUS Cutting & Trimming |
|
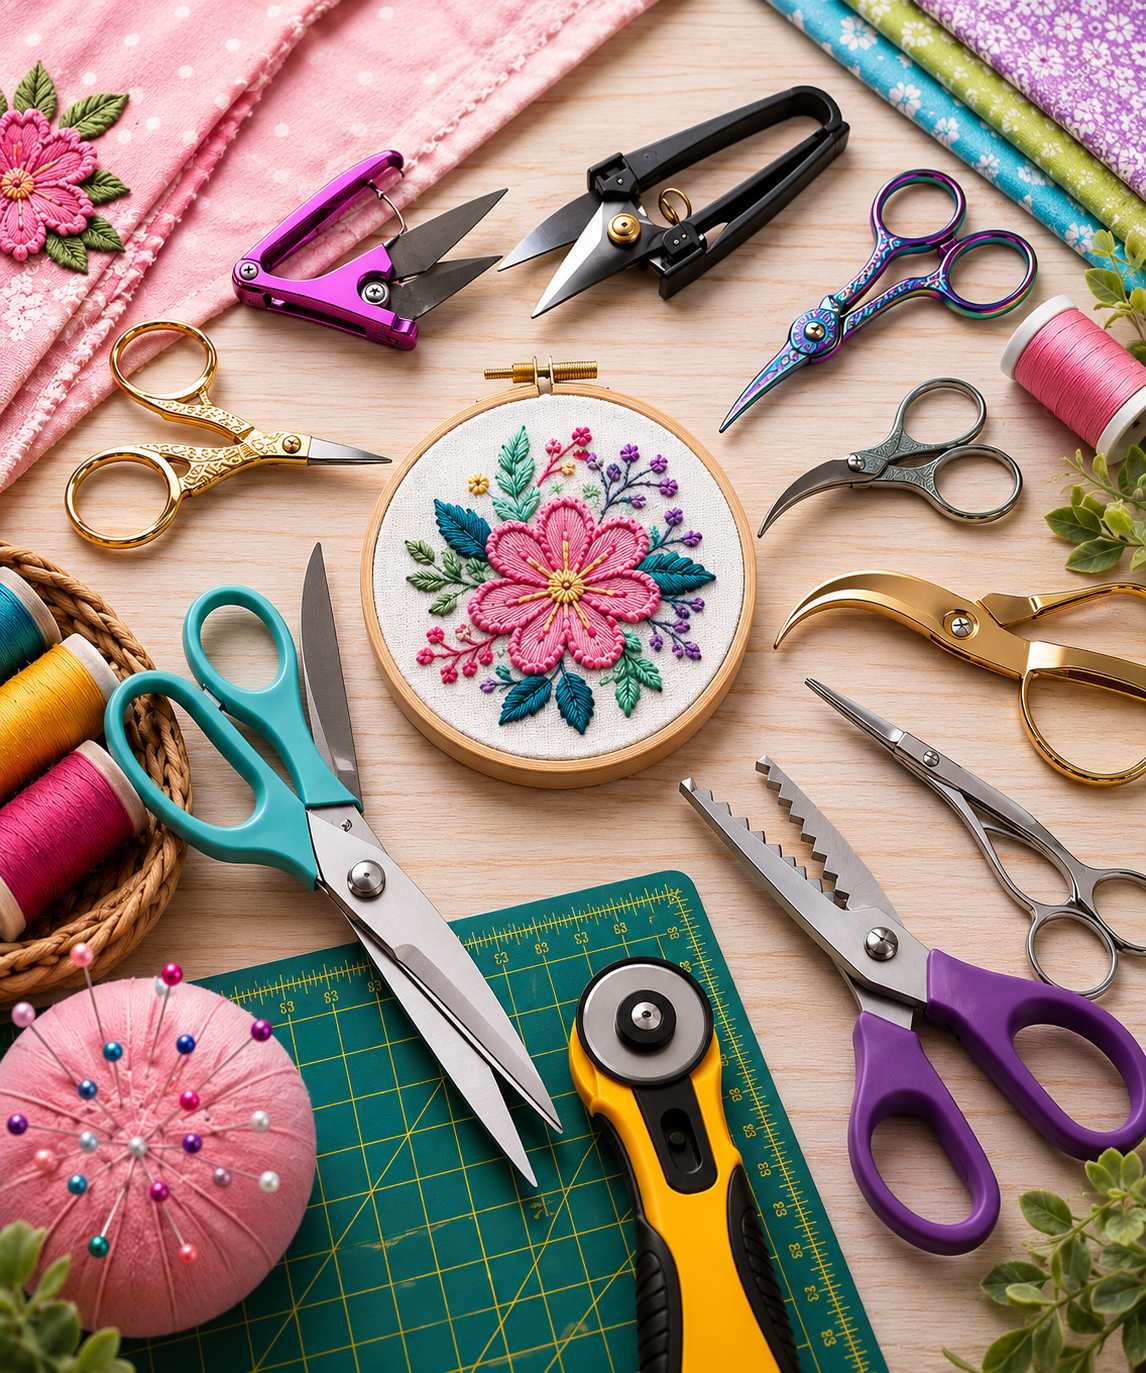
Just as a chef relies on a well-equipped set of knives, every embroiderer should have a dedicated collection of scissors on hand. Having the right pair for each task makes a real difference in both the efficiency of your work and the quality of your finished pieces. This guide walks through eleven cutting tools, one at a time. For each, you will see what it looks like, a clear description, and exactly when to reach for it — so you can build a toolkit that is ready for any embroidery challenge. |
A COMPLETE SCISSOR TOOLKIT |
◆ Embroidery scissors — fine, pointed tips |
◆ Snip scissors (thread snips) |
◆ Treadle / spring-loaded snips |
◆ Curved embroidery scissors |
◆ Appliqué scissors |
◆ Narrow-blade scissors |
◆ Serrated-edge scissors |
◆ Fabric shears |
◆ Pinking shears, plus left-handed options |
|
1 |
Embroidery Scissors These are small, sharp scissors with very fine pointed or slightly curved blades. Keep them as your go-to for precision work: trimming threads right up against finished embroidery, snipping tiny pieces of fabric, and cutting around intricate details. The pointed tips let you get in close for fine work without nicking the surrounding fabric. |
| |

|
2 |
Snip Scissors (Thread Snips) Compact, spring-action scissors built for quick, one-handed use. Because the spring reopens the blades for you, they are ideal to keep right at the machine for fast trimming between stitches. Reach for them whenever you need to clip thread ends and small seams without breaking your rhythm — they will save you real time over a long project. |
| |

|
3 |
Treadle Scissors (Spring-Loaded Snips) Similar to standard snips, but designed to rest open when not in use, so they are always ready to grab and easy to store. They shine in busy, fast-paced sewing sessions where you want quick, repeated thread snipping without fumbling. Think of them as a convenient upgrade when speed and easy access matter most. |
| |

|
4 |
Curved Embroidery Scissors These have gently curved blades that follow the shape of fabric edges. The curve lets you trim appliqué pieces and layered fabrics cleanly without accidentally cutting into the base fabric underneath. They also help you achieve smooth, clean edges around rounded shapes and tight corners. |
| |

|
5 |
Appliqué Scissors A specialty pair with a distinctive curved (often paddle-shaped) blade made for cutting precisely along the edges of appliqué pieces. Use them to trim away excess fabric right next to your stitching, which keeps your lines crisp and helps prevent the raw edges from fraying. They are the tool of choice for tidy, professional-looking appliqué. |
| |

|
6 |
Narrow-Blade Scissors These feature long, slim blades made for precise cutting in tight, awkward spaces. They are perfect for detailed trimming in confined areas and for safely cutting threads or individual fabric layers without disturbing the material right next to them. Keep them handy whenever a regular pair feels too bulky to maneuver. |
| |

|
7 |
Serrated (Fiskars-style) Scissors Scissors with a finely serrated, micro-toothed edge that grips fabric so it cannot slide away as you cut. They are especially useful on slippery or silky materials, where smooth blades tend to push the fabric forward. The serrations give you more control over each cut and noticeably reduce frayed, ragged edges. |
| |

|
8 |
Fabric Shears Larger scissors built specifically for cutting fabric, with long blades and ergonomic, comfortable handles. Use them to cut out bigger pieces of fabric before you begin an embroidery project. Good shears hold their sharpness well and handle a wide range of textiles, so it is worth keeping a dedicated pair just for fabric. |
| |

|
9 |
Pinking Shears Easy to recognize by their zigzag blades, which cut fabric in a saw-tooth pattern. That patterned edge is mainly used to finish raw fabric edges: it adds a decorative touch while also limiting fraying. They are a great choice for tidying edges that you plan to embroider later. |
| |

|
10 |
Left-Handed Scissors These are made specifically for left-handed users, with the blades reversed so the cutting line stays visible and the cut feels natural in the left hand. Any of the types in this guide can come in a left-handed version. If you are left-handed, using scissors built for you makes cutting more accurate and far more comfortable. |
| |

|
11 |
Cutting Mat & Rotary Cutter Not scissors exactly, but an essential cutting companion: a rotary cutter works much like a pizza cutter and is used together with a self-healing cutting mat for precise cuts. It excels at slicing through multiple layers of fabric quickly and accurately, which is ideal when prepping pieces for embroidery. The mat keeps your lines clean and protects both your blade and your work surface. |
| |

|
💡 PRO TIP You don’t need every pair at once. Start with three workhorses — fine embroidery scissors, a pair of thread snips at the machine, and good fabric shears — then add the specialty scissors as your projects call for them. Keeping your fabric scissors separate from your paper scissors will also keep them sharp for years. |
|
Your Scissor Toolkit Is Ready! With the right tool for every cut, your embroidery will be cleaner, faster, and more enjoyable. |
Machine Embroidery Scissors | Anita's Tutorials | Anita Goodesign