Step 3: Fabric Yardage
Now that you have established your block and quilt size, you next step is find the right amount of fabric for your project. This is wear our handy Fabric Calculator comes in.
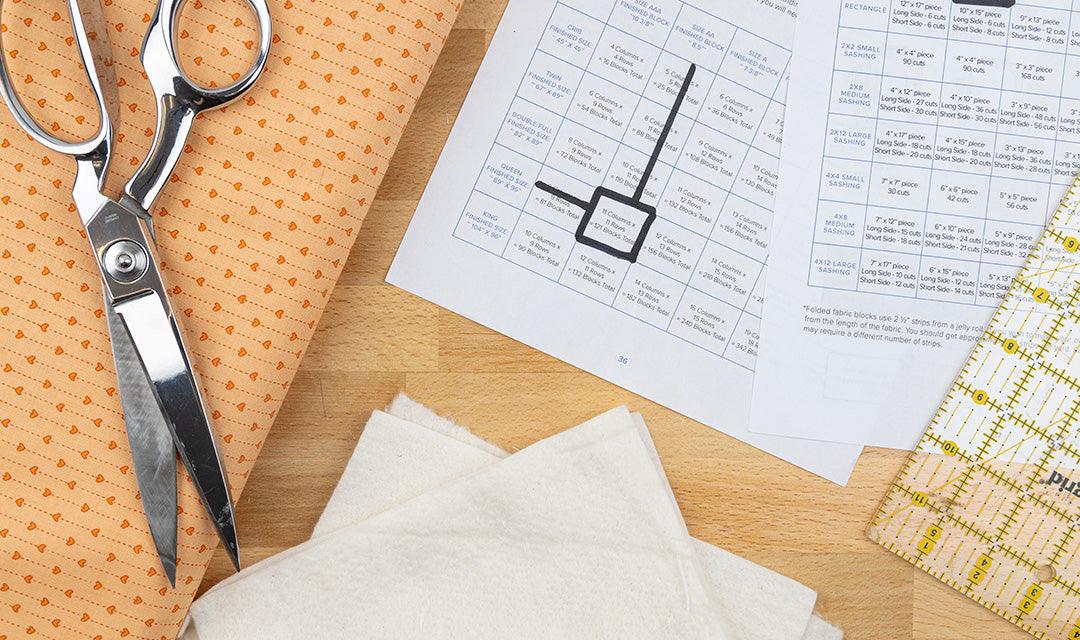
The first measurement will tell you what size to pre-cut your fabric in order to completely cover the block with seam allowance. For example, for size AA, block shape square, the first measurement is 10” x 10”. The second number tells you how many pieces you can cut from one yard of fabric (45” x 36”). For a square size AA piece of fabric, this reads as 12 cuts. So you will be able to get 12 squares of base fabric out of one yard of fabric.
Now to find how many yards you will need, we have to head on over to page 36. Let’s say we would like to make a queen size quilt using AA size blocks. Find the queen size row and the AA finished block column and see where the two intersect. Our chart shows 11 columns x 11 rows with a total of 121 blocks for a queen size quilt. (See above pictures for reference.)
Using the number of cuts listed in the fabric calculator, which in our example is 12, divide the number of blocks by the number of cuts. This will give you the yardage of fabric you’ll need to make your desired quilt, which in our case is 10.1 yards. If you are left with a decimal, we recommend rounding up to ensure you have plenty of room. For our example, I would purchase 10 ½ yards of fabrics.
Step 4: Find Your Color Story
Now let’s find our color story! The first tip is to start with a neutral color as your base. Embroidery always stands out better on solid fabric. Next, choose 3-5 coordinating prints. Use your fabric as a guide to match your thread colors. You may remember an acronym said all throughout math class in high-school called K.I.S.S., which meant keep it simple, silly. That’s exactly what you should do with your threads! Keep it simple. Too many thread colors will cause your theme to be lost. Find your dominant colors, then add a couple highlights and lowlights: one shade darker and one shade lighter! Once you have your color story aligned, use these colors throughout your entire project!
Now it’s time to work your magic by stitching out all of your necessary blocks! If you are wondering how to back and bind your project, we have some resourceful videos on our YouTube channel including How to Back and Bind a Tile Scene with our seamstress, Tammy!
I hope this blog inspires you to head into your next project with ease!
Don’t forget to tune in Friday, August 5th, at 9AM for our next blog release about feature stabilizer!
Happy Sewing!
Brooke


