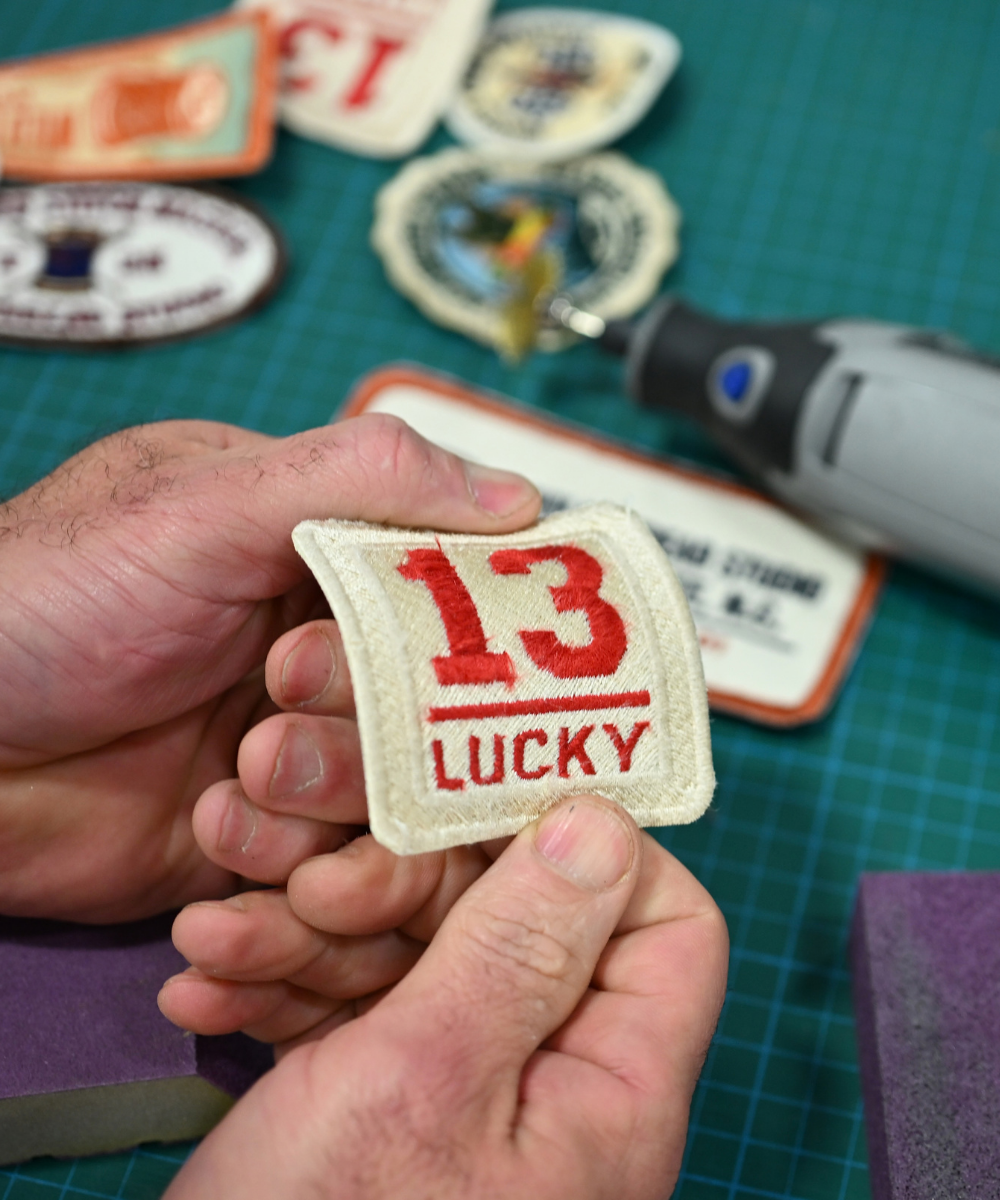
After 30 years of chasing perfect stitches, Stephen Wilson is roughing them up on purpose. In this guide, he explains how to make brand-new machine embroidery look like a patch from the 1940s–70s. He covers hand-placed digitizing with irregular fills and rough satin edges, vintage fabric, low-sheen cotton thread like Gunold Cotty (with a 25% density reduction), and distressing with sandpaper, wire brushes, and a Dremel. The post pairs with the Vintage Patches and Vintage Coastal Patches collections.

Related Posts
Three Ways to Attach a Patch (And the One We Use)
We have been making a lot of patches lately, and every time a photo goes up, the same two questions come in: how do we attach them, and what is that machine in the background? This post answers both. We walk through all three methods — iron-on backing, fabric glue, and sewing — with the process for each and an honest look at what they can and cannot do. Then we get into why we ended up buying a post bed sewing machine to stitch every one of our patches down, and why the worst thing in this craft is a finished piece coming apart in somebody else's hands.
Learn moreWhat Happens When a Design Leaves the Hoop?
Why a tote — a flat canvas panel is honest, nothing hides, and the frame forces real composition decisions most embroiderers never get to make.
Learn moreQuilting With Patches: Why Every Design You Own Is Secretly a Quilt
Years ago, Quilting 1,2,3 gave us all the backgrounds and borders — you just had to add a design to the center. Stephen shows how that simple idea means ANY design, even mini patches, can become a full quilt block. No more thinking in boxes: patches aren't just for jackets, and quilt designs aren't just for quilts. See the examples, then grab Quilting 1,2,3 (book or digital) and start making something that's never been made before.
Learn more