What Happens When a Design Leaves the Hoop

I want to tell you about something that started as a side project and turned into one of the most exciting things happening on our floor right now.
For years, I've watched our designs get stitched onto quilts, jackets, table runners, kitchen towels, and every kind of project you can imagine. You send me the photos. I look at all of them. And somewhere in the middle of all that, a question started nagging at me:
What would happen if we treated one of these designs like a piece of art instead of a decoration?
Not stitched in the corner of something. Not tucked onto a pocket. Front and center, sized up, layered, built out — the way you'd hang a painting.
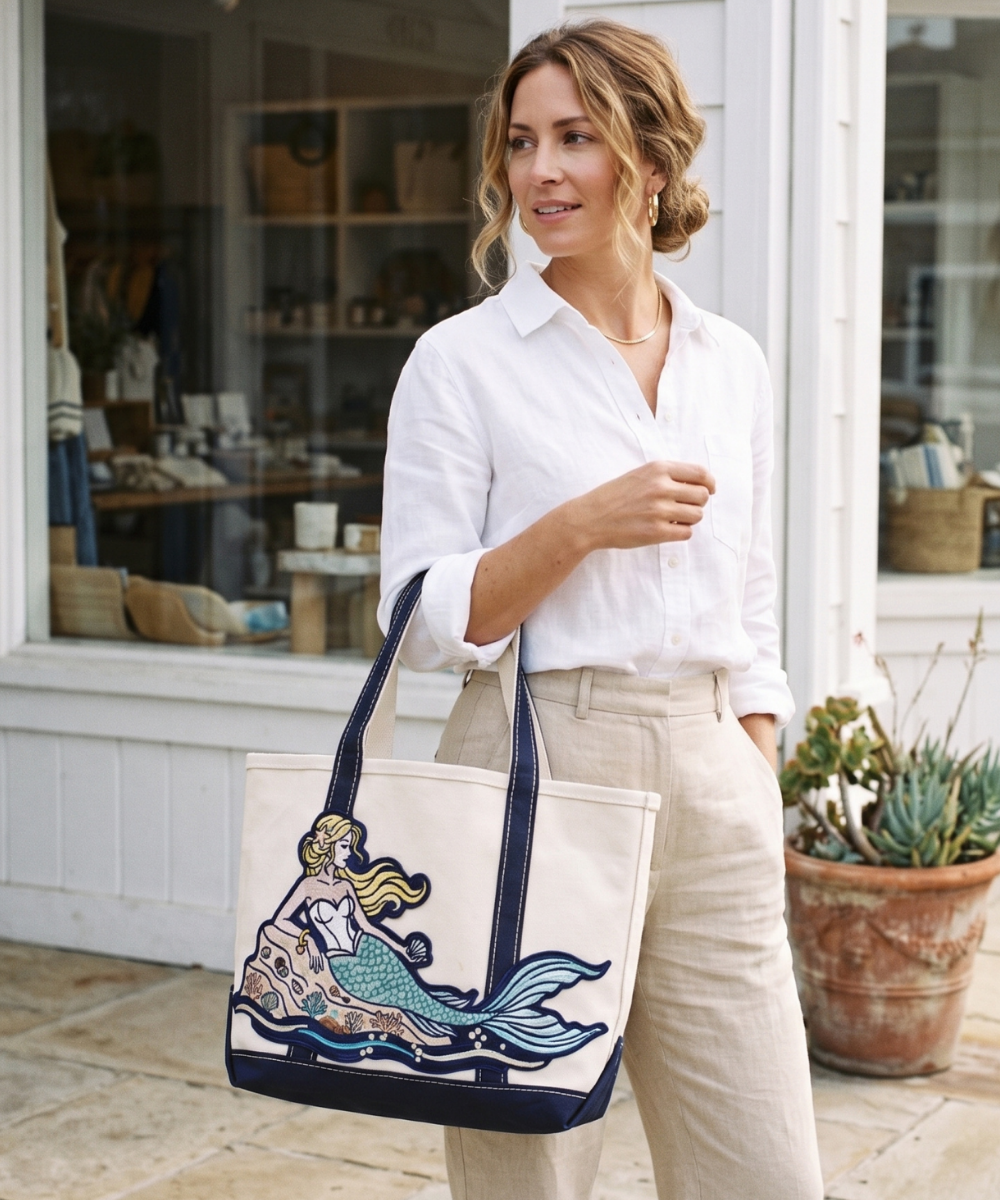
So we started making tote bags. And I don't mean the kind you get free at a trade show.
Why a Tote

A tote bag is honest. There's nowhere to hide on a flat canvas panel. Every stitch shows. Every registration issue shows. Every underlay decision you made three hours ago shows.
That's exactly why it's such a good teacher.
When you build a tote, you're forced to think about composition — where the eye lands first, how the designs relate to each other, what the empty space is doing. Those are the same questions a painter asks. Most of us never get to ask them, because we're stitching to fill a spot on a garment rather than designing a whole surface.
The bag gives you a frame. And the moment you have a frame, you start making real design decisions.
The Designs You're Seeing Are Designs You Can Own

Here's the part I most want you to hear.
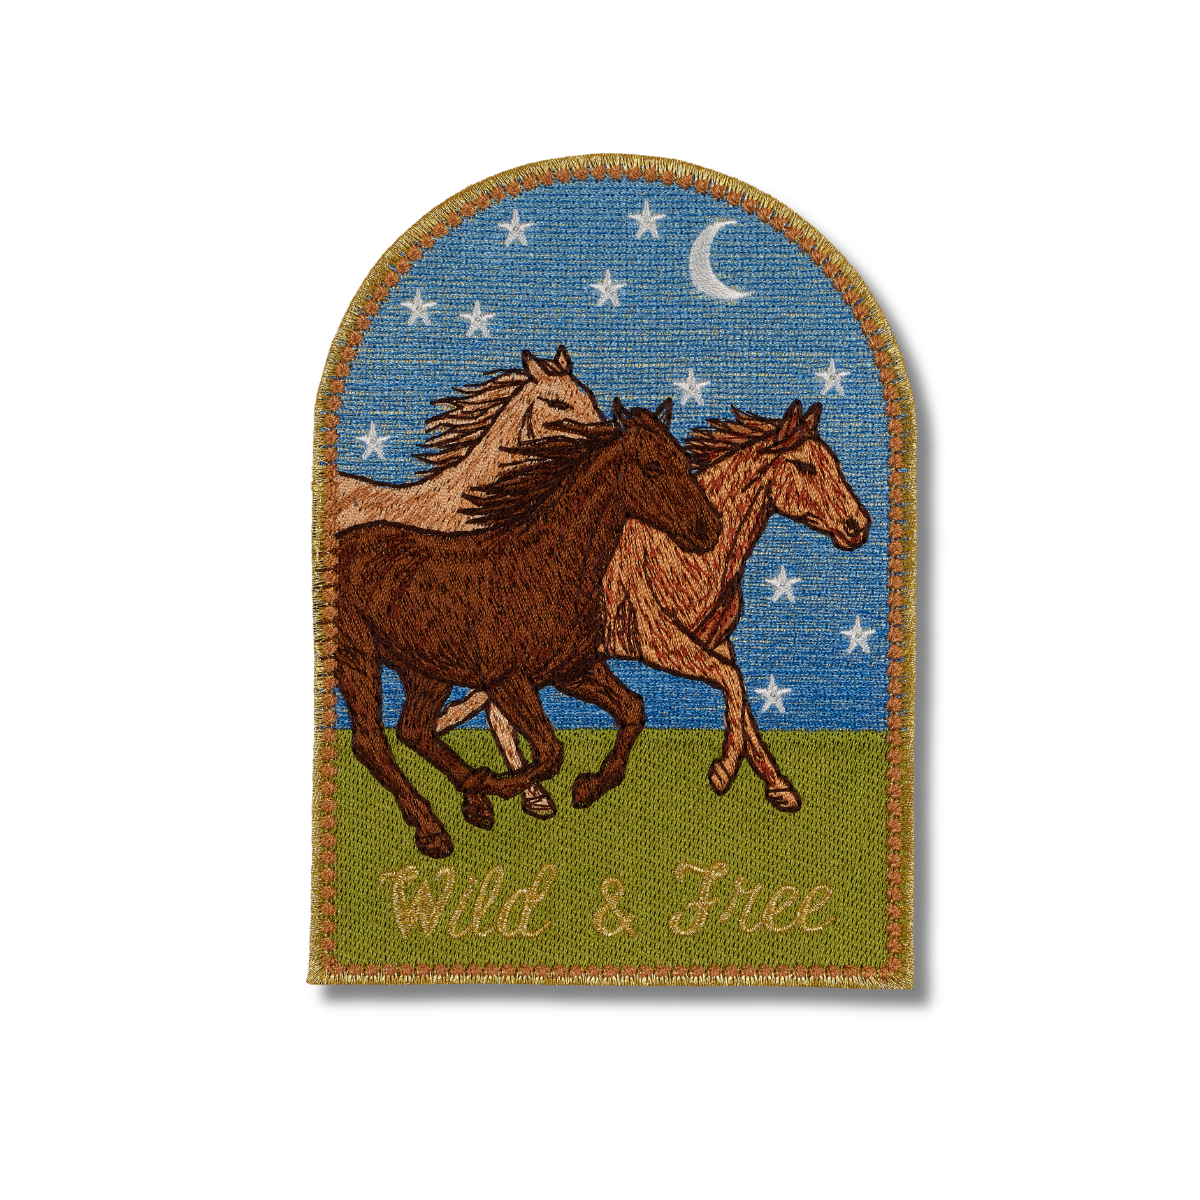
Nearly every design on those totes is available to you. The Cowboy Hat, the Cowgirl Boot, the Trick Rider, Rosie — those western pieces are brand new deluxe designs and they're released for purchase. Same with the florals, the nautical work, the whimsy pieces. These aren't locked away in some private studio vault.
I'm not showing you these totes so you'll buy a tote. I'm showing you these totes so you'll see what your machine is capable of when you stop thinking small.
You have the same designs. You have a machine. The only thing standing between the two is a decision about scale and arrangement.
Six Ways to Build a Layout

We train our own studio team on six layouts, and I'll give them to you here because there's no reason to keep them a secret.
Solo Feature. One design. Sized up as large as your hoop allows, placed slightly above center. This is the hardest one to get right and the most striking when you do. Nothing to hide behind.
Feature Layout. One dominant design with one or two small supporting elements placed off to the side. The supporting pieces should feel like they're orbiting the main one, not competing with it.

Grid. Three, four, or six designs at matching size, evenly spaced. Clean and graphic. Works beautifully with a series — four different boots, six different florals, a set of monograms.
Cascade. Designs flowing diagonally across the panel, varying in size, largest at one corner. This one has movement in it. Great for florals and anything organic.
Minimalist. One small design placed deliberately off-center with a lot of open canvas around it. Restraint is the whole point. Resist the urge to fill the space.
The Random. Designs scattered at different angles and sizes, overlapping slightly. It looks effortless, which means it takes the most planning. Lay it out on paper first.
Print your designs to actual size, cut them out, and move the paper around on the blank bag before you ever hoop anything. Every good layout I've ever made started as paper scraps on a table.

A Few Things I've Learned the Hard Way
Stabilize like you mean it. A canvas panel that's going to carry weight needs more support than you think.
Watch your thread weight against the fabric. A heavy canvas can swallow a delicate 60-weight detail. Sometimes the answer is a heavier thread, sometimes it's simplifying the design.
Press from the back, always, with a towel underneath. You worked too hard on that texture to flatten it.
And leave more empty space than feels comfortable. The single most common mistake I see — the one I still make — is filling every inch. The blank canvas is part of the design.

What I Actually Want From You
Make one.
Pick a design you already own and have never used at full size. Blow it up. Put it on something flat and let it be the whole point instead of an accent.
Then send me the picture. I mean that. The best part of doing this for twenty-five years has been watching what all of you do with these designs — things I never would have thought of, on projects I never imagined.
The design leaves my hands the moment it leaves the hoop. What it becomes after that has always been up to you.
Go make something you'd hang on a wall.
Stephen