Let me share an art piece featuring a design you’ll recognize.
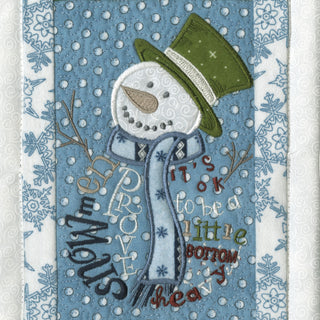
Several years ago, I created a collection called Halloween Town, which allowed you to design your own town using 20 different quilt blocks, each showcasing a Halloween character against a unique background. When stitched together, these blocks formed a vibrant scene. This collection has always been my favorite for Halloween, so I decided to give it a fresh, artistic twist.
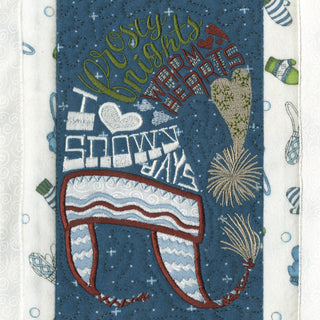
I edited each design by removing the characters and saving them into a new file. Next, I updated the backgrounds, filling in all the missing details. I then stitched them as two separate files, utilizing the techniques I outlined in my Artful Embroidery book. This approach made the stitching process faster, as each design had half the original stitch count. As a result, this art piece will be crafted using just one quilt block.

The original halloween town quilt
This is a collection I created a decade ago and it was a fun and challenging project. I rediscovered it last year when my kids were digging through the Anita Archives one day. I thought "what if?" and decided to create something different with it.

Look at designs in a whole new way
This is the final dimensional piece
Step by step instructions
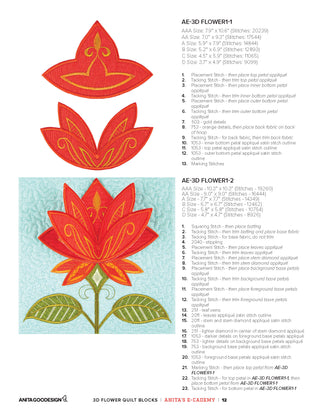
Step 1: Stitch Your Quilt Block
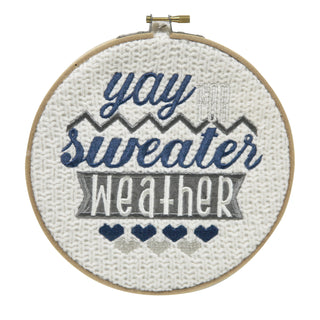
Begin by selecting one block from your quilt design collection. Stitch this block as usual, ensuring it’s perfect for framing.
Step 2: Mount the Block
Once your block is stitched, mount it using a preferred method. You can use a fabric stiffener to ensure it maintains its shape, or place it on a piece of coordinating backing fabric for added durability.
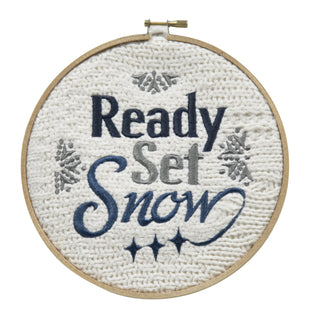
Step 3: Prepare Your Embroideries
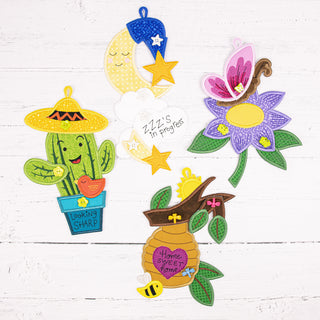
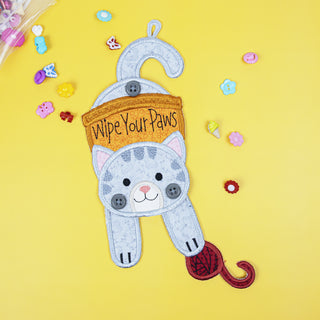
Choose a few small embroidery designs that complement your quilt block. Stitch these designs on fabric that contrasts or harmonizes with the block, adding variety to your artwork.
Step 4: Mount Your Embroideries
Similar to the quilt block, mount each of your embroideries. You can experiment with different arrangements to create an appealing display.
Step 5: Frame the Artwork
Gather your mounted block and embroideries, then arrange them in a shadow box frame. Ensure everything is securely placed, and consider adding decorative elements such as fabric-covered mats or embellishments to enhance the visual interest.


All of the techniques shown are featured in the Artful Embroidery Book!


Creating a unique piece of art is faster than making a pot holder!
Now you have the perfect gift for someone special! If you want to decorate a wall, you can create a themed scene with multiple framed pieces. Think about it: in the same amount of time it takes to create one quilt, you can produce 20 beautiful framed artworks.
Don’t get me wrong; I adore quilts—the designing, the embroidering, the crafting process. However, when I began framing pieces a few years ago, I discovered a whole new way to gift and present my embroidery work. There is nothing more satisfying than completing a project in an afternoon!
How often have you stitched a block as a test but never finished the rest of the designs?
With the Artful Embroidery Method, you can create a stunning gift using just one block, a few small embroideries, and a simple shadow box frame. You could even apply this technique to your test stitch-outs and later complete the quilt if you wish.
Stephen WIlson
Unlock your creativity