
|
ANITA GOODESIGN | Anita's Tutorials Mix & Match Quilt Block Master the free motion technique — one block at a time |
|
SKILL LEVEL Beginner Friendly |
HOOPINGS Single Hooping |
TECHNIQUE Free Motion |
|
Free motion embroidery is specially-digitized to run long, continuous bean stitches — often reaching from edge to edge of the block in a single unbroken line. When multiple blocks are sewn together, the continuous stitching connects them effortlessly. Mix and match blocks from different collections to design the ultimate bed set, coordinating pillows, shams, or a stunning duvet. Free motion is perfect for adding a quilted look to home decor and garments alike. |
|
MATERIALS LIST |
|
◆ No-Show Mesh Stabilizer |
|
◆ Quilt batting |
|
◆ Base fabric — enough to cover block + 1/2" seam allowance on all sides |
|
◆ Embroidery threads |
|
◆ Curved-tip embroidery scissors |
|
◆ Ruler |
|
◆ Rotary cutter and mat |
|
◆ Embroidery hoop |
|
◆ 75/11 embroidery needle |
|
Step 1 |
Hoop Your Stabilizer Hoop a piece of No-Show mesh stabilizer drum-tight. This is the foundation for all the stitching. Any slack in the hoop will cause registration errors throughout the design. |
|
|
|

|
Step 2 |
Run the Squaring Stitch Run the first machine step — the squaring stitch. This placement outline indicates exactly where to position your batting and is your roadmap for everything that follows. |
|
|
|

|
Step 3 |
Place the Batting Place a piece of quilt batting directly over the squaring stitches, being sure to cover them entirely on all sides. The batting should extend slightly beyond the outline — it will be trimmed precisely in the next step. |
|
|
|

|
Step 4 |
Run the Tacking Stitch Run the next machine step — the tacking stitch — which locks the batting firmly to the stabilizer. |
|
|
|

|
Step 5 |
Trim the Batting Using a pair of curved-tip embroidery scissors, neatly trim away the excess batting as close to the tacking stitch line as possible. Take care not to clip through any stitches. Clean, precise trimming here directly affects the quality of the finished block. |
|
|
|

|
Step 6 |
Result After Trimming Your block should now look something like this — the batting neatly tacked and trimmed inside the stitch outline, ready for your base fabric. |
|
|
|

|
Step 7 |
Place Your Base Fabric Place your base fabric right side facing up over the batting. Be sure to have enough fabric to cover the entire block as well as a 1/2" seam allowance on all four sides. Smooth from the center outward to remove any wrinkles. |
|
|
|

|
Step 8 |
Tack Down the Fabric Run the next machine step in a matching thread color — the tacking stitch that secures the base fabric to the stabilizer. After this step your block should show the full outline shape with both the batting and fabric locked in position. |
|
|
|

|
Step 9 |
Stitch the Free Motion Design Continue on to run the free motion embroidery in a thread color of your choice. Watch as the long, continuous bean stitches create the beautiful quilted texture that makes free motion so distinctive. |
|
|
|

|
Step 10 |
Remove from Hoop & Trim When your design is finished stitching, remove it from the hoop. Use a rotary cutter and ruler to trim the block to a 1/2" seam allowance on all sides. |
|
|
|

|
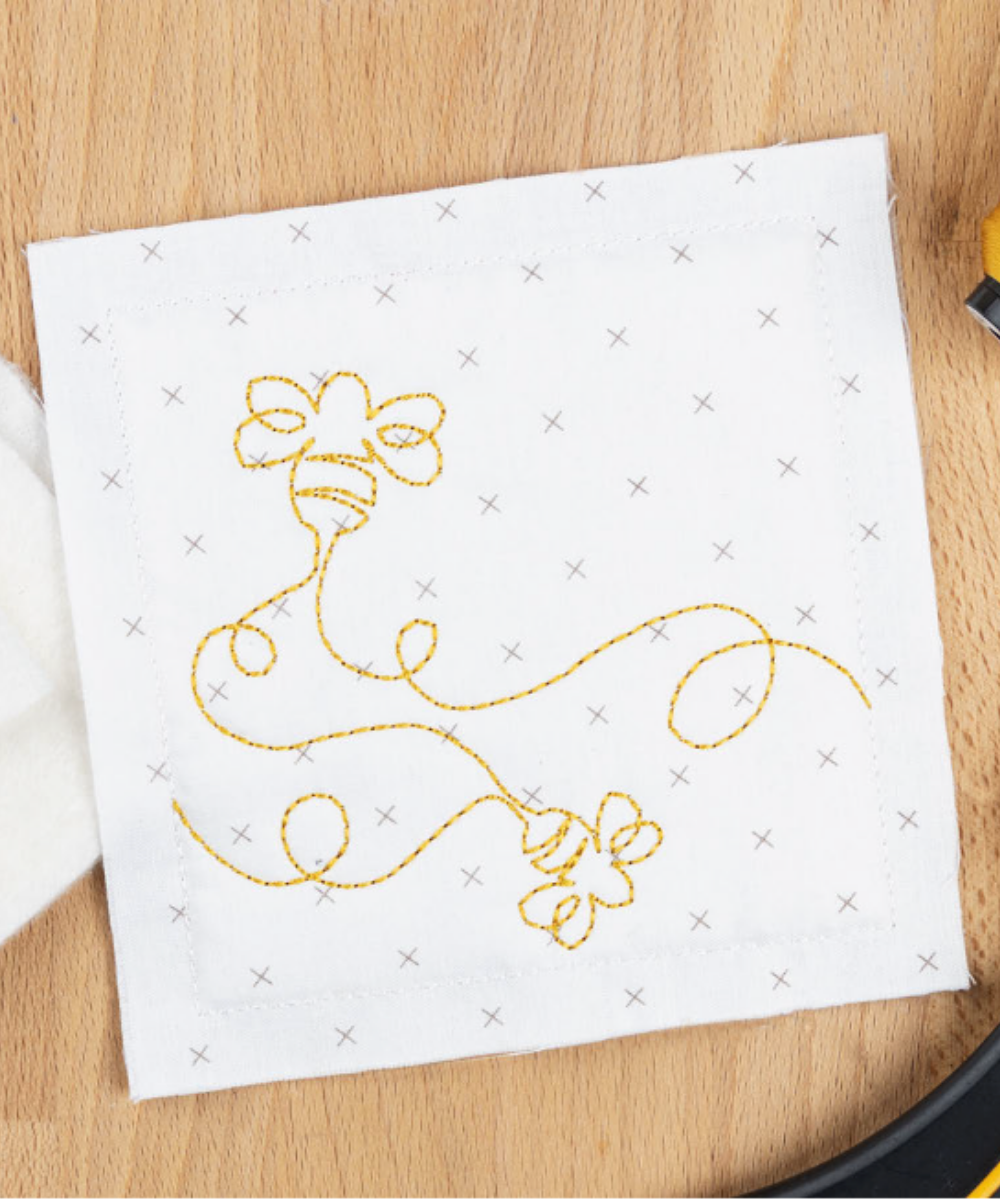
Step 11 |
Finished Block Your Free Motion quilt block is now complete and ready to piece! The continuous line stitching will connect seamlessly with adjacent blocks when sewn together. |
|
|
|

|
💡 PRO TIP Free motion designs are built to connect block to block seamlessly when sewn together. Stitch multiple blocks and arrange them before sewing to plan your final quilt layout — you'll love how the stitching flows across the entire piece. |
|
Your Free Motion Quilt Block Is Complete! Once you make one block, you'll want to fill an entire quilt. Mix, match, and make it yours. |
Mix & Match Quilt Block | Anita's Tutorials | Anita Goodesign