

|
ANITA GOODESIGN | Anita's Studio Hooping Fabric for Machine Embroidery Master the art of hooping — for flawless embroidery every time |
|
SKILL LEVEL All Levels |
HOOP SIZE 4×4 / 5×7 / 6×10 |
TECHNIQUE Machine Embroidery |
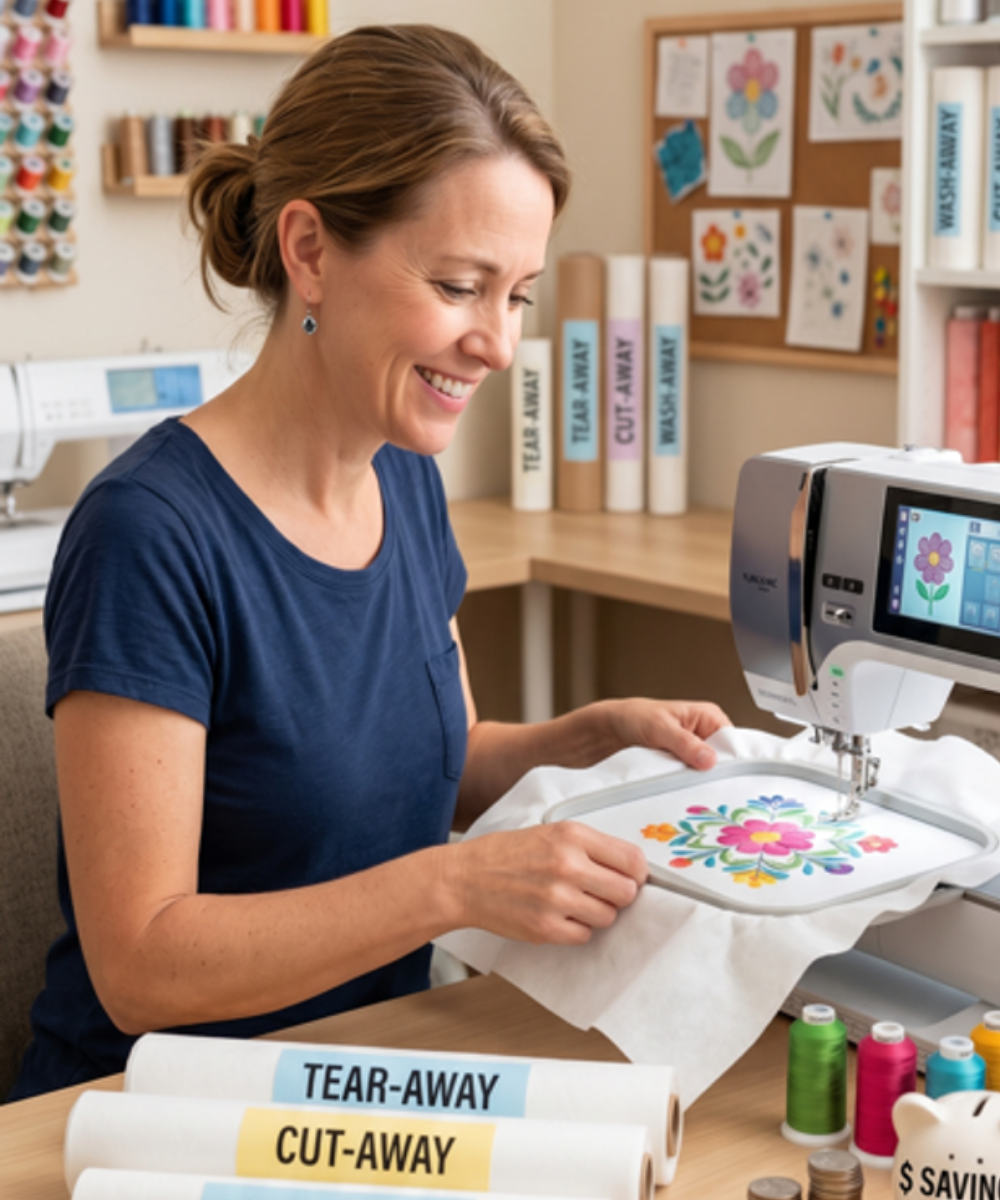
If I had to name my least favorite part of machine embroidery, hooping fabric would be at the very top of that list. It's one of those steps that feels deceptively simple — until you end up with a skewed design, misaligned stitches, or fabric that's puckered beyond saving. I know the feeling all too well! But here's the good news: with a few solid techniques and a little practice, hooping can go from dreaded chore to second nature. Let's walk through everything you need to know to hoop with confidence every single time. |
WHAT YOU'LL NEED |
◆ Embroidery hoop (4×4", 5×7", or 6×10" — sized to your design) |
◆ Stabilizer — tear-away for stable fabrics, cut-away for stretchy ones |
◆ Fabric (pre-washed and ironed) |
◆ Fabric marker or chalk for alignment |
◆ Temporary adhesive spray (optional but helpful) |
◆ Ballpoint needle (for stretch fabrics) |
◆ Embroidery machine with a centering/positioning feature |
|
Step 1 |
Choose the Right Hoop Imagine choosing a dance partner for the evening — you want someone who matches your rhythm! Select a hoop size that fits your design comfortably. Standard sizes like 4×4", 5×7", and 6×10" cover most projects. Going too small cramps your design; going too large risks poor fabric tension. |
| |

|
Step 2 |
Prepare Your Fabric & Stabilizer Choose your fabric and pair it with the right stabilizer — your fabric's trusty sidekick! Tear-away works beautifully on stable woven fabrics, while cut-away is the go-to for anything stretchy. Getting this pairing right sets the whole project up for success. |
| |

|
Step 3 |
Cut Your Materials Generously Cut your fabric and stabilizer at least 1–2 inches larger than your design area. Think of it as giving your fabric some breathing room before the big reveal. I once cut a piece too small — the thread tension was a disaster and I had to start all over! |
| |

|
Step 4 |
Layer the Stabilizer & Fabric Place your stabilizer in the bottom hoop first, smoothing out any wrinkles. Then lay your fabric right-side up on top. Think of it like building a lovingly crafted sandwich — every layer matters and has its role to play! |
| |

|
Step 5 |
Secure the Layers in the Hoop Place the top hoop over and gently tighten the screw. Your fabric should feel snug and drum-tight — but not strained or distorted. It's a balance that takes a little feel to get right. Too loose and your design will shift; too tight and the fabric distorts. |
| |

|
Step 6 |
Align & Center Your Design Use the center markings on your hoop to line up your design exactly where you want it. If your machine has a positioning or basting feature, use it — it's like having GPS for your embroidery! I once thought I could eyeball it and ended up stitching a gorgeous design on the wrong side of the fabric. |
| |

TIPS & TRICKS FOR SUCCESSFUL HOOPING |
Avoid Fabric Puckering: Don't crank the fabric too tight! It should be taut and smooth — think of stretching pizza dough. Too much tension and you'll end up with a ruffled mess that won't stitch properly. |
Choose the Right Stabilizer: Tear-away is perfect for stable, woven fabrics. Cut-away is your go-to for stretchy or knit fabrics. Matching stabilizer to fabric type makes a real difference in your finished results. |
Prep Your Fabric First: Always iron your fabric before hooping. I once skipped this step and ended up with creased stitches that looked more like a mountain range than a smooth design! |
Double-Check Alignment: Take a moment to verify your design placement before you hit Go. A quick check now saves you from ripping out stitches later — trust me on this one. |
Use Adhesive Spray Wisely: Temporary spray adhesive can be a lifesaver for holding tricky fabrics in place. Just go light — a little goes a long way, and you don't want sticky buildup on your hoop. |
Always Do a Test Stitch: Stitch on a scrap piece of the same fabric before committing to your real project. It's the warm-up your embroidery deserves, and it catches problems before they become disasters. |
Mark Your Placement: Use a fabric marker or chalk to mark your centering point before hooping. It's like drawing the map before the treasure hunt — saves a lot of guesswork! |
Stretch Fabrics Need a Ballpoint Needle: If you're working with knits or stretchy fabrics, switch to a ballpoint needle. It glides between fibers instead of piercing them, preventing runs and skipped stitches. |
Hoop with a Friend: Feeling overwhelmed? Grab a fellow embroiderer! Hooping is so much more fun with a second set of eyes, and you'll pick up each other's tips and tricks along the way. |
|
💡 PRO TIP Cut your fabric and stabilizer at least 1–2 inches larger than your design area on all sides. That extra margin gives you room to maneuver while hooping and ensures your design stays fully supported from edge to edge. No fabric creeping into the design zone! |
|
Happy Hooping, Friends! Once hooping clicks, you'll wonder what all the fuss was about. Now go make something beautiful. |
Hooping Fabric for Machine Embroidery | Anita's Studio | Anita Goodesign