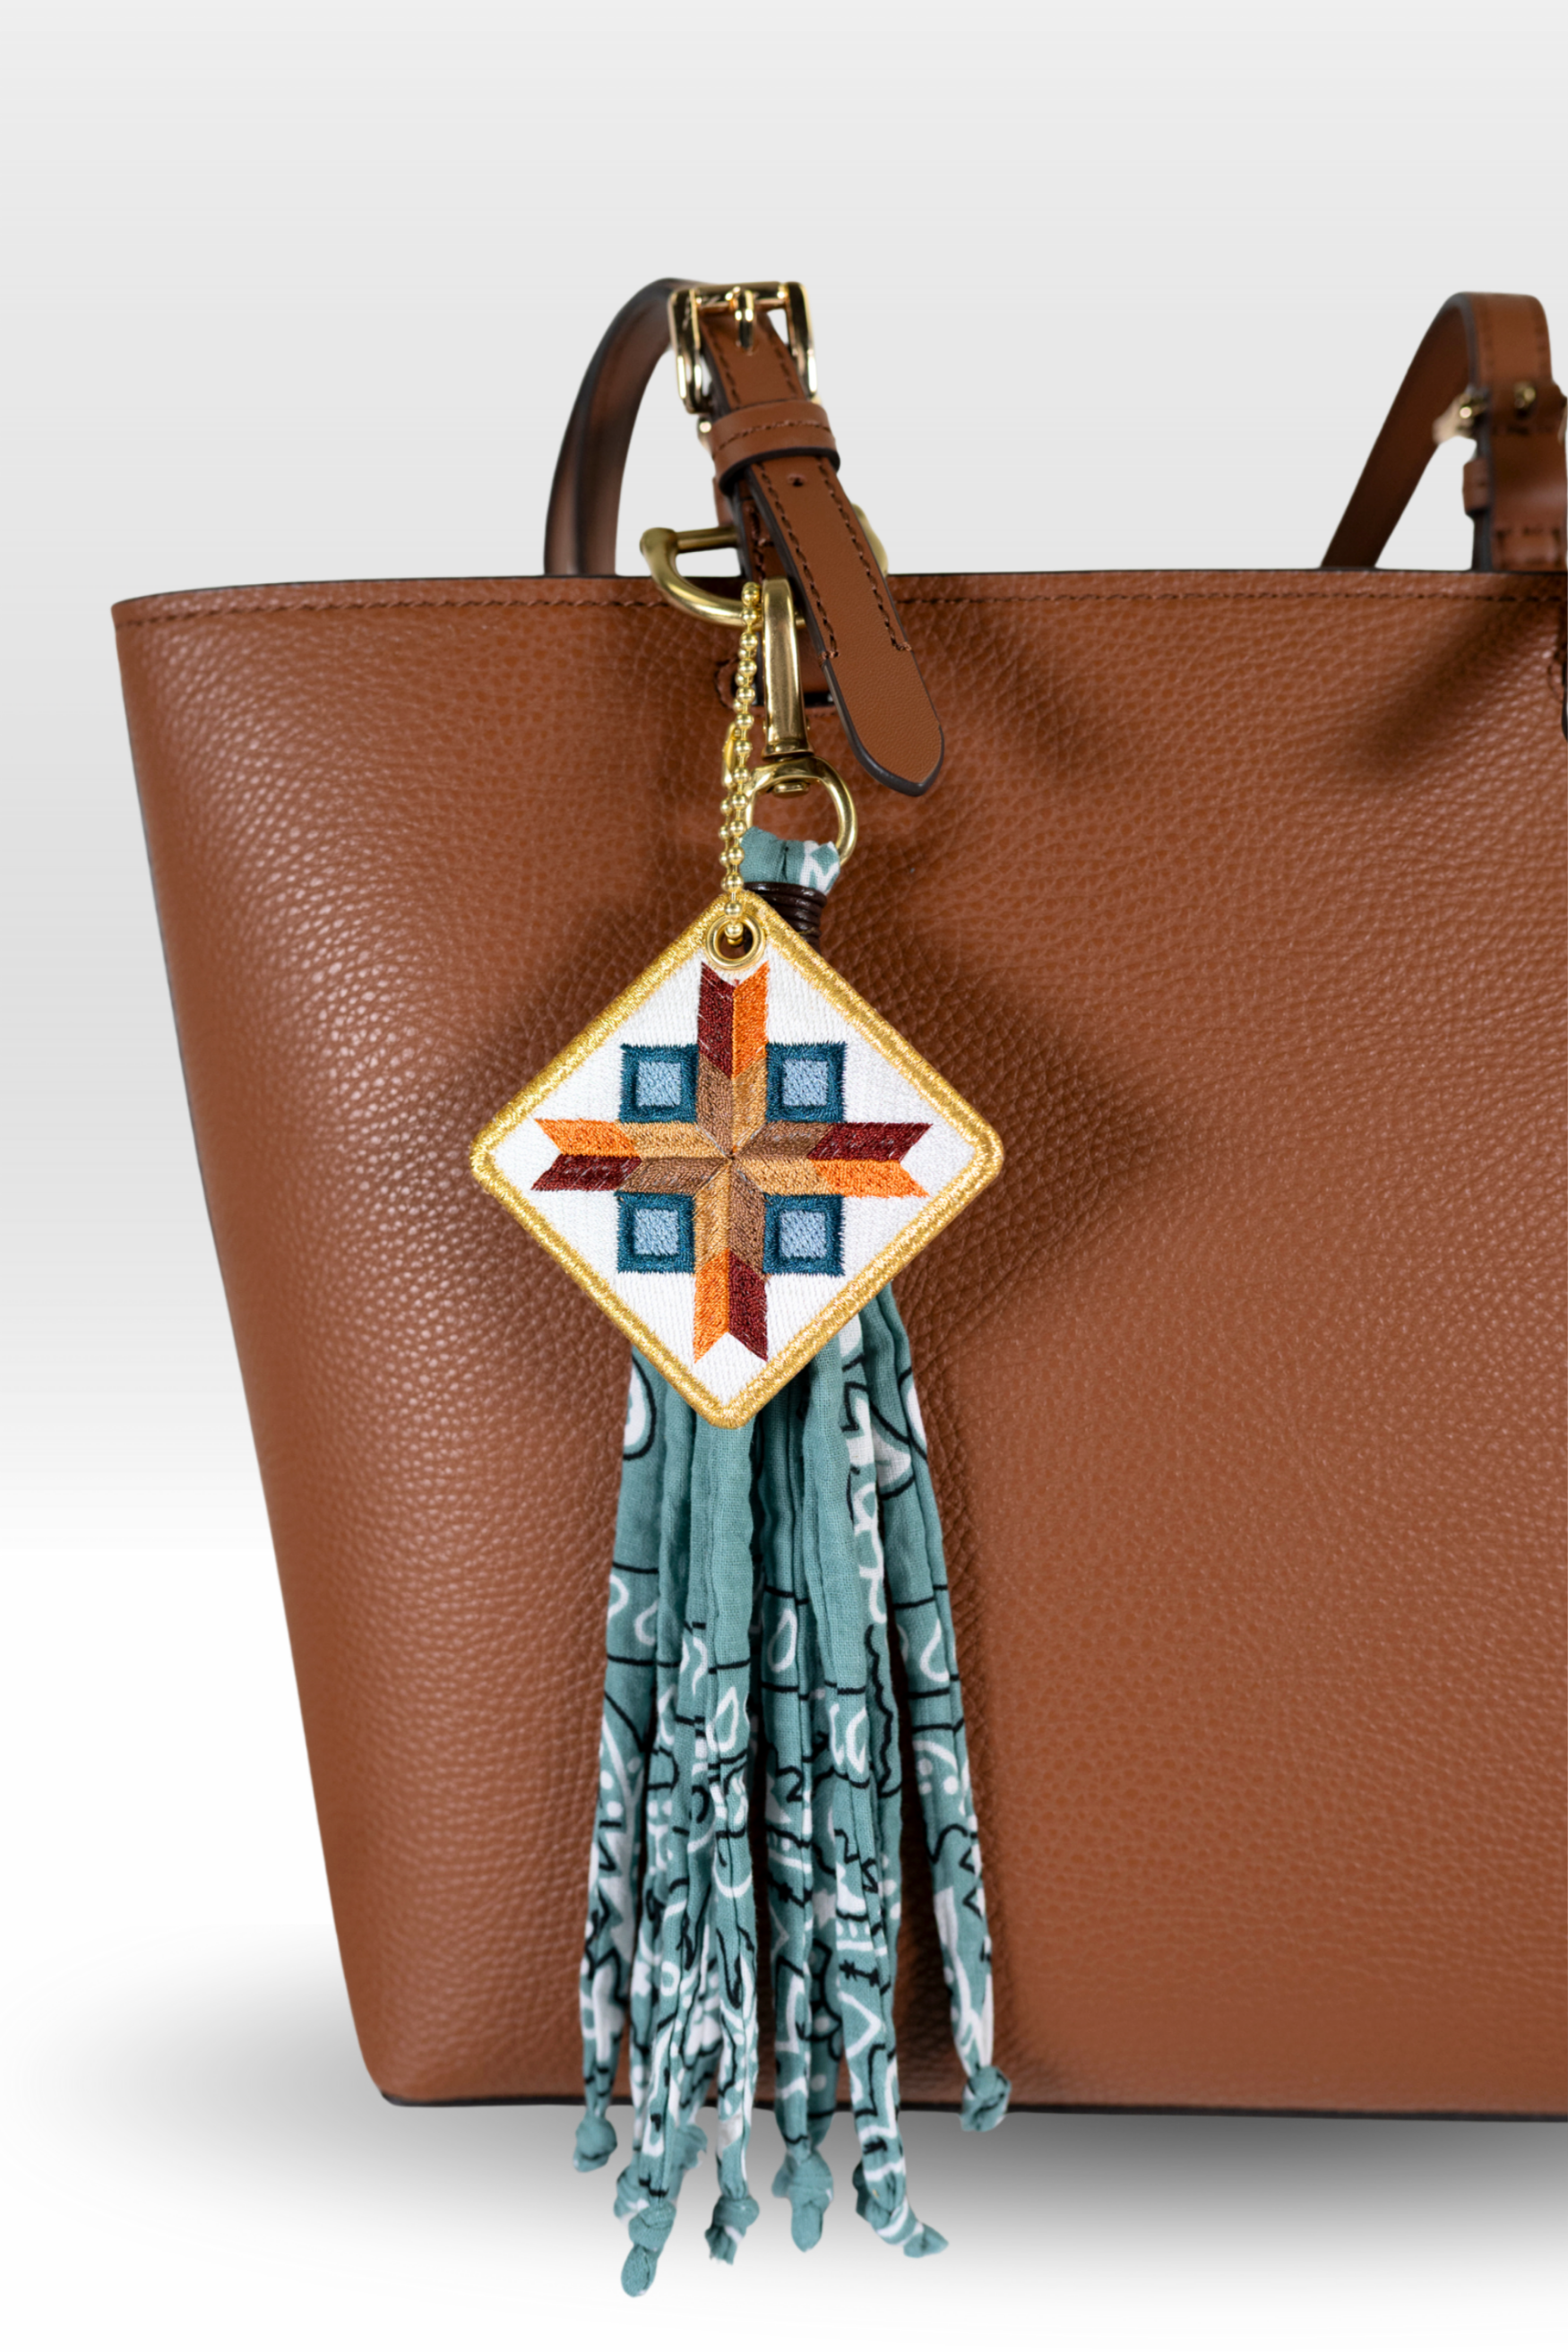
Hi everyone! I know I said to prepare yourself this week for some cute puppy pictures. However, you asked and I’m here to answer all of your printed fabric questions! While moderating Melissa’s live on printed fabric, the major pain point I noticed in the comment section was the printing process. It’s important to note we have a PDF tutorial within each printed fabric collection that gives you detailed information on how to scale our design. However, some of you have requested an in-depth printing process tutorial, and I am here to bring it!
(Have no fear, puppies will be next week!)
To begin, you will need an Inkjet Printer. It’s important to remember that every printer and computer is slightly different, so these are general instructions to give you an idea of how easy it is to use this technique!
For today’s example, I will use a design featured in our August Watch & Stitch!
To begin, locate the Printed Fabric PDFs folder within the collection you purchased in your library. All of our printable files are in PDF format, which can be opened and printed using Adobe Reader.
Now it is time to decide your size! You will need to scale your printed fabric accordingly based on the size block you plan on using. I have went ahead and took a screenshot of what your desktop maybe look like if you are using our scaling system to print your blocks. Here, you will also be able to tell the difference in size as you explore each option.
AA SIZE
Our size guide starts with the AA size and ends with our D size. To begin, open up your Print Fabric PDF as described above. Next, hit FILE, then PRINT. You need to make sure you click CUSTOM SCALE and change the percent to 117%. Here you will notice a size change! The red square around your block will now expand closer to the edge of your paper. You are now in the clear to hit print!
A SIZE
Our A size is the easiest. You may not have to change any of your settings. Repeat the same process by opening your Printed Fabric PDF. Next, hit FILE, then PRINT, and make sure your CUSTOM SCALE displays 100%. Most of the time, these settings will already be programmed for you. Now print and stitch!
B SIZE
As we continue to go down in size by selecting smaller blocks, you will need to adjust your printed fabric accordingly. For AA, we raised the percentage. Now, we will decrease our percentage. Repeat the opening and printing process above. However, this time, you will need to change your CUSTOM SCALE percentage to 87%! This technique is a breeze once you fully understand how to scale your Printed Fabric PDF.
C SIZE
When selecting the C size, you will need to change the CUSTOM SCALE to 75%. Again, in case you are wondering where to find our scaling system, be on the lookout for a Printable Fabric Tutorial 2021 PDF that is free to you, once you purchase and download your printed fabric designs!
D SIZE
Last, but certainly not least, is our D Size! If you are looking to use our smallest size block, you will need to change your CUSTOM SCALE section to 61%.

Before you start printing on your fabric, it is always good to do a test print on a plain sheet of paper to make sure there are no issues and you are happy with the quality!
It is very important to know which way to lay your printable fabric so that you don’t accidentally print on the wrong side. If your printer doesn’t have clear instructions, then just mark the piece of paper you are using for the test on one side so you know which way to feed it in. The last thing you want to do is waste ink and a fabric sheet trying to figure this out!
Once you are happy with your test print, remove all paper from your printer and load only one sheet of printable fabric at a time. Again, make sure you load the paper so that it will print on the fabric side. You should be able to tell which side of your printable sheet is the front, and which side is the back. Be sure to check the instructions on your packaging, as it may be different for other products. Below is a picture of the brand we use here most at Anita Goodesign, and the back side of the printable fabric. As you can see, the back side has numbers across it. This is a clear indicator for me to be place it in into my Inkjet printer with the number side facing up!

Once you have followed the instructions on how to finish your printed fabric once it prints, you are ready to use it with our designs!
I hope this blog helps you better understand how to print and size your printable fabric accordingly!
If you still feel stuck, check out the following videos listed below!
We also have a
FREE design and Printed Fabric Tutorial on our website. It’s completely
FREE and comes with one design to practice with! To snag this offer, click
here!
As always, thank you for joining me! Happy Sewing! Brooke


