
Hello! I hope you all are having a fantastic week! For this week’s blog, I will be breaking down one of our special (and fun!) techniques we utilize here at Anita Goodesign.
Our puffy foam machine embroidery technique is specially-digitized to help you create 3D shapes throughout your embroidery design! Bring your designs to life by adding these colored foam sheets throughout your project. It is important to note: this technique will only work for puffy foam-specific collections. I will post a few of my top recommendations below as we break down this unique technique and some of the most frequently asked questions!

How Does The Puffy Foam Technique Work?
As stated above, this awesome technique will need to be specially digitized. Any collections that highlight this technique will also call for puffy foam craft sheets or embroidery foam! Once we lay down the puffy foam sheet, a specialty satin stitch will secure it in place. At Anita, we use a 75/11 needle when running a design that utilizes this technique with no issues. Once the special satin stitches in the design has finished stitching, you can pull the excess puffy foam away from the design—it’s as simple as that! To remove any excess smaller foam pieces, you may want to invest in some nice tweezers to help get you through!
The elephant pictured above is a great representation of how our puffy foam technique truly enhances your project. Since Puffy Foam Crazy Quilt Animals was specially digitized to secure the puffy foam sheets, it surely becomes my all time favorite puffy foam collection as we combined two techniques into one! While normal puffy foam collections feature a 3D satin stitch shape, this collection stands out against the rest by combining different shades of appliqué fabric and beautiful, decorative stitches!

Where Can I Purchase Puffy Foam Craft Sheets and What Size Do I Need?
You should be able to purchase puffy foam craft sheets from any local craft store or online. Amazon, Hobby Lobby, and Michaels are all great places to purchase this product and it’s cost efficient!
It is important to remember when using puffy foam craft sheets to select a foam color that will match your embroidery thread of choice. this way, if any foam color peeks through, matching the foam color to your thread will help conceal this! As for thickness, we use the same size throughout all of our puffy foam collections. However, you can use 2mm, 3mm, and 6mm in thickness when embroidering. For a more extravagant 3D effect, try a thicker foam sheet!
There are other options like embroidery foam that is made specifically for these types of projects. If you are looking for a higher quality foam, you may want to consider purchasing embroidery foam instead of puffy foam craft sheets. The choice is entirely yours, and both will work in the designs!
When designing the Puffy Foam Christmas Cookies Anita’s Express collection shown above, we re-imagined the timeless tradition of baking holiday cookies, but in the form of embroidery, allowing you to make these perfect cookies—no baking needed! Each design has been crafted with a felt base fabric to look like gingerbread or sugar cookie shapes, while a specially-digitized layer of puffy foam stitches will mimic the piped icing. Plus, if you love this collection, make sure to check out a recent 2022 puffy foam Christmas release titled Gingerbread Town!

If I Use This Techqniue, Is My Project Machine Washable?
Yes! This fantastic textile is has so many amazing properties! Puffy foam craft sheets are non-toxic, water-resistant and machine washable! However, I would highly recommend keeping your project away from flames, as this textile is highly flammable. When washing your project, you will also want to ensure you do not take your item to a dry-cleaner. Our handmade projects are precious, so wash with care!When discussing handmade projects that involve apparel, the beautiful collection shown on the banner above is an excellent example. Letters featured in our Crazy Puffed Monograms collection can be used on tote bags, banners, and especially clothing! Initials and letters often find their way on t-shirts, backpacks, and jackets. At one point in time, the letterman’s jacket was one of the most popular high school items! Today, you can create your own version of a letterman jacket by embroidering a large letter from this featured collection your favorite colors!

What Type Of Stabilizer Should I Use?
If you are unsure where to start when choosing the ideal stabilizer for your project, you may want to check out one of my more recent blogs called Machine Embroidery Stabilizer Basics | Anita Goodesign. This blog post is the ultimate guide for selecting stabilizers based on your current project or collection.
However, for the time being, you will want to select your stabilizer based on your base fabric of choice. For example, if you are hooping an item to get stitched on, then you may want to use a Tear Away or Wash Away stabilizer.
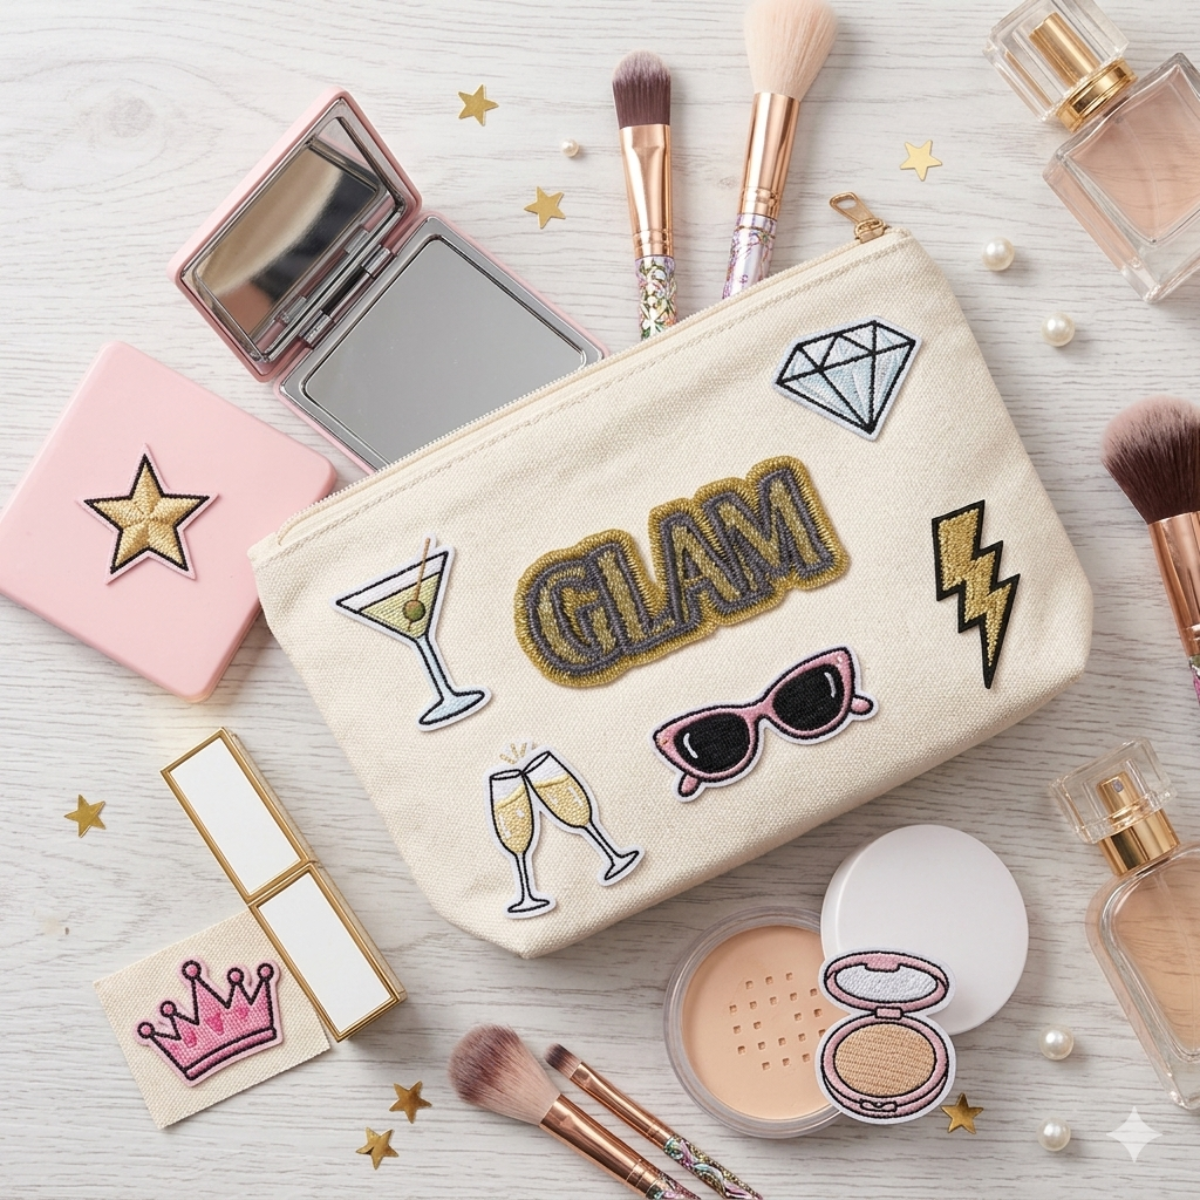
For the project pictured on the beautiful pink bag above, we used the patch and attach method! Our Origami Brooches are perfect for this! Choose from one of our featured motifs, hoop a piece of Tear Away stabilizer and felt, run your design and trim! The patch and attach method is great for creating freestanding items and adding them to all of your accessories.
See how easy and simple this technique can be? If you decide to test out one of these products, make sure to snap a photo and tag us on Instagram or Facebook for a chance to be featured our page!
I hope you enjoyed this weeks blog. I have planned a few hidden Halloween gems this month, so make sure you stayed tuned on what’s coming next!
If you still have questions regarding our Puffy Foam technique, be sure to check out our YouTube video titled How to Puffy Foam.
Have a great week and happy sewing!
Brooke