
|
ANITA GOODESIGN | Anita’s Tutorials Cutwork Fundamentals Master the art of cutwork embroidery — one window at a time |
|
SKILL LEVEL Beginner Friendly |
HOOPINGS Single Hooping |
TECHNIQUE Cutwork |
|
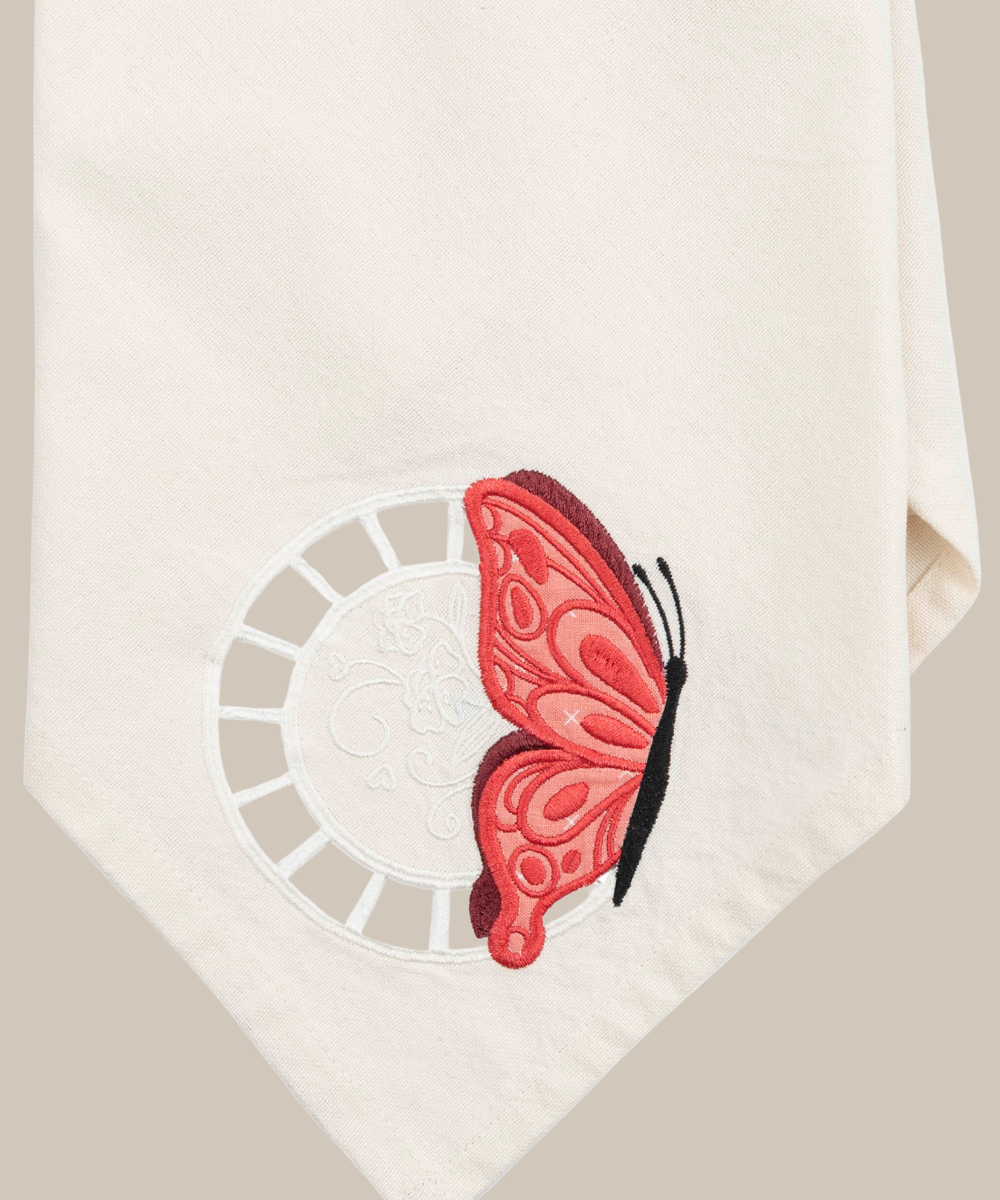
Cutwork embroidery is a technique where certain areas of your project’s base fabric are removed, or cut out, to create a striking negative-space effect. Cutwork designs include a special marking stitch, so you always know exactly which areas need to be trimmed. The key is leaving your Wash-Away stabilizer intact beneath the fabric you trim, giving the open windows a surface to stabilize against until the design is finished. A quick rinse in hot water then dissolves the remaining stabilizer, leaving a stunning series of “windows” peeking through your fabric — a wonderful, low-density way to add detail to clothing and linens alike. |
|
MATERIALS LIST |
|
◆ Wash-Away stabilizer |
|
◆ Base fabric |
|
◆ Appliqué fabric |
|
◆ Embroidery threads |
|
◆ Coordinating bobbin thread |
|
◆ Curved-tip embroidery scissors |
|
◆ Ruler |
|
◆ Rotary cutter and mat |
|
◆ Embroidery hoop |
|
◆ 75/11 embroidery needle |
|
Step 1 |
Hoop the Stabilizer Begin by hooping a piece of Wash-Away stabilizer together with your base fabric, pulling both layers drum-tight so there is no slack. The stabilizer sits underneath and supports the open areas you’ll cut later. (In this example, the base fabric is blue cotton.) |
|
|
|

|
Step 2 |
Run the Marking Stitch Run the first machine step. This is the special marking stitch, and it stitches an outline that shows you exactly where the cutwork openings of the design will be — think of it as a map for the trimming you’re about to do. |
|
|
|

|
Step 3 |
Slice Into the Base Fabric Using a seam ripper or curved-tip embroidery scissors, gently slice into the base fabric inside the marked area. Cut through the top fabric only, taking care not to nick or puncture the Wash-Away stabilizer underneath, since it needs to stay intact to support the window. |
|
|
|

|
Step 4 |
Cut Out the Fabric Once you have an opening, use your scissors to carefully cut away all of the base fabric that sits inside the marking stitches. Trim close to the stitched line for clean edges, again leaving the stabilizer below untouched. |
|
|
|

|
Step 5 |
Check Your Window Once trimmed, your cutwork window should look like this. Notice that the Wash-Away stabilizer is still fully intact inside the opening — that intact layer is what holds the window stable while the rest of the design stitches out. |
|
|
|

|
Step 6 |
Stitch the Cutwork Edges Run the next machine step. This is the specially digitized stitching that wraps and secures the raw fabric edges around each window, finishing them neatly and creating the signature cutwork look. |
|
|
|

|
Step 7 |
Run the Appliqué Placement Stitch Continue to the next machine step, which stitches a placement outline for your first standard appliqué. This light outline shows you exactly where to lay your appliqué fabric in the following step. |
|
|
|

|
Step 8 |
Place the Appliqué Fabric Place your appliqué fabric right side up over the placement outline, making sure it extends past the stitched line on all sides so the entire outline is covered. Smooth it flat before moving on. |
|
|
|

|
Step 9 |
Tack Down the Appliqué Run the next machine step — a tacking stitch that holds the appliqué fabric firmly in place against the design. This locks the fabric down so it won’t shift when you trim it. |
|
|
|

|
Step 10 |
Trim the Appliqué Now carefully trim away the excess appliqué fabric, cutting close to the tacking stitches without clipping them. Once trimmed, the design will look like this, with the appliqué shape neatly revealed. |
|
|
|

|
Step 11 |
Stitch the Decorative Details Continue on to run the decorative embroidery steps. Follow your design’s numbered machine steps in order, changing thread colors whenever the design calls for it, to build up the finished detail. |
|
|
|

|
Step 12 |
Finish All Machine Steps When every machine step is complete, your design should look something like this — the cutwork windows, appliqué, and decorative stitching all finished together inside the hoop. |
|
|
|

|
Step 13 |
Trim to Size With the stitching finished, remove the project from the hoop. Using a rotary cutter and ruler, trim the piece down to your desired finished dimensions, keeping your cuts straight and even. |
|
|
|

|
Step 14 |
Rinse Away the Stabilizer Rinse the finished design in hot water to dissolve any remaining Wash-Away stabilizer. As it washes away, the open cutwork windows are revealed. Press gently with a dry towel and lay the piece flat to dry. |
|
|
|

|
Step 15 |
Your Cutwork Is Complete You’ve now created a beautiful cutwork design! The crisp open windows and layered appliqué are ready to show off on a garment, pillow, or linen of your choice. |
|
|
|

|
💡 PRO TIP The secret to clean cutwork is to leave your Wash-Away stabilizer completely intact beneath the areas you trim. Always cut the base fabric only, never the stabilizer below — it supports the open windows while you stitch, then rinses away at the end to reveal crisp, professional edges. |
|
Your Cutwork Design Is Complete! Rinse, press, and admire the windows you’ve created — then add elegant cutwork detail to garments and linens alike. |
Cutwork Fundamentals | Anita’s Tutorials | Anita Goodesign