
|
ANITA GOODESIGN | Anita’s Tutorials Tile Scene Build a stunning multi-block scene — one block at a time |
|
SKILL LEVEL Beginner Friendly |
HOOPINGS Single Hooping |
TECHNIQUE Appliqué & Piecing |
|
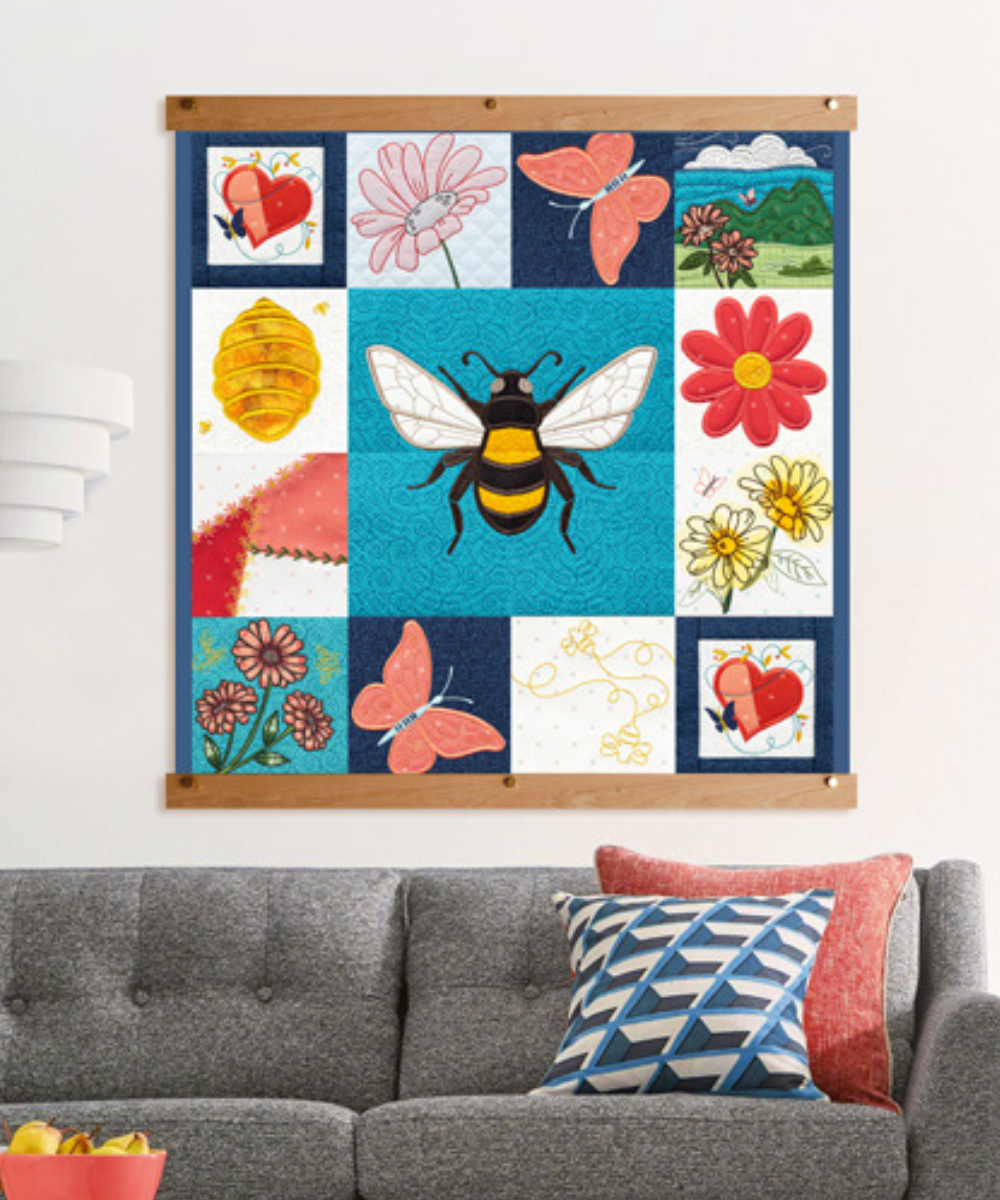
A Tile Scene is a single piece of original artwork that has been divided up and digitized across several quilt blocks. You stitch each block on its own, then piece them back together so the separate panels reunite into one complete picture — in this tutorial, a charming bumblebee. Anita Goodesign has crafted many tile scenes over the years, from quaint cottages and gentle nods to nature to more ornate scenes. Whatever theme you choose, the technique is the same, and the payoff is a beautiful stitched scene you will be proud to display. |
|
MATERIALS LIST |
|
◆ No-Show mesh stabilizer |
|
◆ Quilt batting |
|
◆ Base fabric |
|
◆ Appliqué fabrics |
|
◆ Embroidery threads |
|
◆ Curved-tip embroidery scissors |
|
◆ Ruler |
|
◆ Rotary cutter and mat |
|
◆ Embroidery hoop |
|
◆ 75/11 embroidery needle |
|
Step 1 |
Hoop Your Stabilizer Hoop a piece of No-Show mesh stabilizer so it is held firm and flat in your embroidery hoop. This stabilizer is the foundation for every stitch that follows, so make sure it is taut with no slack. Then load the first of the four block files for your tile scene — in this example we are stitching design file F-TS1. |
|
|
|

|
Step 2 |
Run the Squaring Stitch Run the first machine step, which is the squaring stitch. This stitched outline marks exactly where your batting needs to go and acts as your roadmap for everything that comes next, so let it finish completely before moving on. |
|
|
|

|
Step 3 |
Place the Batting Take a piece of quilt batting and lay it directly over the squaring stitches, making sure it covers the outline on all four sides. It is fine for the batting to extend past the lines for now — you will trim it neatly in a later step. |
|
|
|

|
Step 4 |
Run the Tacking Stitch Run the next machine step, the tacking stitch. This step stitches around the batting and locks it firmly to the stabilizer so nothing shifts while you continue building the block. |
|
|
|

|
Step 5 |
Trim the Batting Using a pair of curved-tip embroidery scissors, carefully trim away the excess batting as close to the tacking stitch line as you can on all sides. Take your time and avoid clipping the stitches — clean trimming here keeps the finished block smooth and tidy. |
|
|
|

|
Step 6 |
Place Your Base Fabric Lay your base fabric right side facing up over the batting block. Be sure the piece is large enough to cover the entire block while still leaving roughly a 1/2″ of extra fabric on all sides for a seam allowance. Smooth it gently from the center outward to remove any wrinkles. |
|
|
|

|
Step 7 |
Tack Down the Base Fabric Run the next machine step in a matching thread color. This is the tacking stitch that secures your base fabric to the layers underneath. Once it finishes, the full outline of the block will be visible with the fabric held firmly in place. |
|
|
|

|
Step 8 |
Stitch to the First Appliqué Keep running the numbered machine steps in order, following the indicated color changes as you go, until the machine reaches a placement stitch for your first appliqué. This placement outline shows you exactly where the appliqué fabric belongs. |
|
|
|

|
Step 9 |
Place the Appliqué Fabric Take a piece of appliqué fabric and lay it right side facing up over the placement stitch area, making sure it covers the entire outline with a little extra all around. |
|
|
|

|
Step 10 |
Tack Down the Appliqué Run the next machine step, which is the tacking stitch for the appliqué. This stitches around the shape and holds the appliqué fabric securely to the block. |
|
|
|

|
Step 11 |
Trim the Appliqué Using your curved-tip embroidery scissors again, trim away the excess appliqué fabric close to the tacking stitch line. Work slowly around the shape so the edges come out crisp and clean. |
|
|
|

|
Step 12 |
Result After Trimming Once trimmed, your appliqué should look something like this — a clean shape sitting neatly inside its outline. Repeat the place, tack, and trim sequence for any remaining appliqué pieces in the design. |
|
|
|

|
Step 13 |
Continue the Remaining Steps Continue running the design’s numbered machine steps, following the indicated color changes, to complete the rest of the embroidery. Watch your scene come to life as each color is added. |
|
|
|

|
Step 14 |
Remove from Hoop & Trim When the design has finished stitching, remove it from the hoop. Use a rotary cutter and ruler to trim the block down to a 1/2″ seam allowance on all four sides so it is ready to be joined. |
|
|
|

|
Step 15 |
Your First Block Is Complete Your first Tile Scene block is now finished! Go ahead and stitch the remaining three blocks in the scene the same way, then read on to see how they all get joined together. |
|
|
|

|
JOINING YOUR TILE SCENE BLOCKS |
|
Step 16 |
Lay Out Your Blocks Once all four blocks are stitched and trimmed, lay them out in the order indicated by the design so the full picture lines up correctly. Take a moment to confirm the arrangement before you start sewing. |
|
|
|

|
Step 17 |
Sew Each Row Work one row at a time. Place one block on top of its neighbor with right sides facing together, then pin or clip them just past the tacking stitch lines. Take the pair to your sewing machine and join them with a straight stitch along their shared edge. |
|
|
|

|
Step 18 |
Press the Seams Open After sewing each row, use a steam iron to butterfly press the seams open on the back. Pressing the seams flat prevents bumps and ridges in the finished scene. Your joined rows should look smooth and flat once pressed. |
|
|
|

|
Step 19 |
Join the Rows Now join the rows to each other the same way. Place the top row of blocks face down over the row below it, line up the seams, pin or clip in place, and straight stitch along the edge at your sewing machine. |
|
|
|

|
Step 20 |
Your Tile Scene Is Complete Once every block and row is joined and pressed, your tile scene comes together into one complete picture. Read on to the Mix & Match Quilting section to see how we back and bind our finished pieces! |
|
|
|

|
💡 PRO TIP Tile scenes only look their best when the panels line up, so accuracy matters more than speed. Trim each block to an even 1/2″ seam allowance and press every seam open before joining — those two habits keep the artwork aligned and the finished surface flat. |
|
Your Tile Scene Is Complete! Four blocks, one beautiful picture. Choose your favorite scene and make it yours. |
Tile Scene | Anita’s Tutorials | Anita Goodesign