

|
ANITA GOODESIGN | Anita’s Tutorials Free Standing Designs Master the fundamentals — beautiful embroidery that stitches on its own |
|
SKILL LEVEL Beginner Friendly |
HOOPINGS Single Hooping |
TECHNIQUE Free Standing |
|
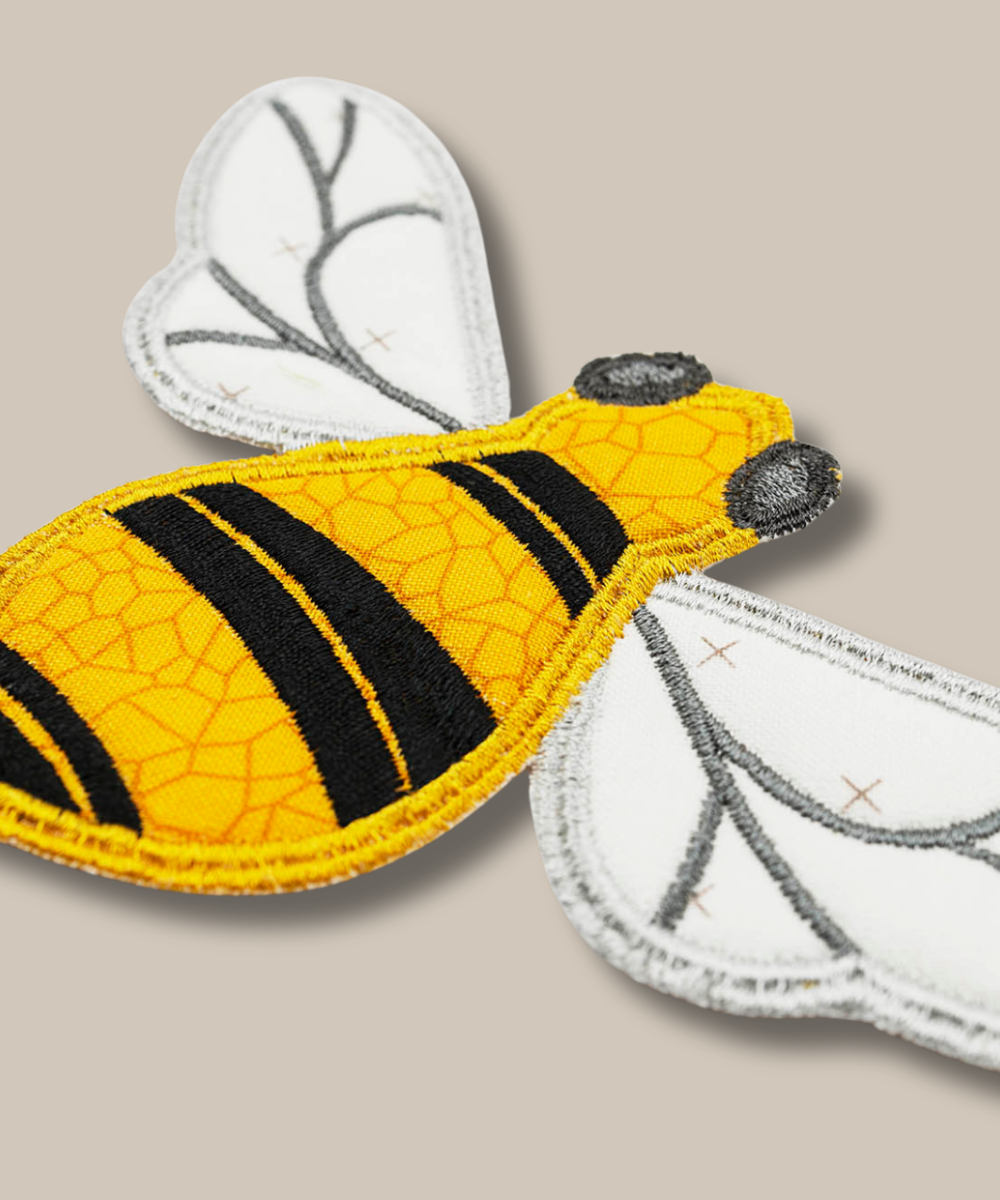
Free standing designs are embroidery designs that have been digitized to do just that: stitch out on their own without the need for a base project! These types of designs are generally best done on a Tear-Away or Wash-Away stabilizer, making finishing up the project a breeze. When classifying our free standing projects, we look for two key components in their construction: a back fabric added to cover any bobbin stitches, and a satin stitch along the edge for a clean, finished look. Free standing designs are great for quick projects, simple gifts, or fun accessories — from kids’ puzzles and cup cozies to patches, ornaments, and gift tags. You’ll find a free standing design for just about any occasion! |
|
MATERIALS LIST |
|
◆ Tear-Away stabilizer |
|
◆ Batting |
|
◆ Appliqué fabrics |
|
◆ Coordinating back fabric |
|
◆ Embroidery threads |
|
◆ Coordinating bobbin |
|
◆ Curved-tip embroidery scissors |
|
◆ Ruler |
|
◆ Rotary cutter and mat |
|
◆ Embroidery tape |
|
◆ Embroidery hoop |
|
◆ 75/11 embroidery needle |
|
Step 1 |
Hoop Your Stabilizer To begin, hoop a piece of Tear-Away stabilizer, pulling it drum-tight in the hoop. This stabilizer is the foundation that holds everything in place while the design stitches out, so make sure there is no slack. |
|
|
|

|
Step 2 |
Run the Placement Stitch Run the first machine step. This is the placement stitch — a simple outline that shows you exactly where to position the batting for your design. Think of it as your roadmap for the steps that follow. |
|
|
|

|
Step 3 |
Place the Batting Place a piece of batting directly over the placement stitches, making sure it covers the outline entirely on all sides. The batting can extend a little past the lines — you will trim it neatly in a later step. |
|
|
|

|
Step 4 |
Tack Down the Batting Run the next machine step, which is the tacking stitch. This stitch locks the batting firmly to the stabilizer so it stays put while you continue. |
|
|
|

|
Step 5 |
Trim the Batting Using a pair of curve-tipped embroidery scissors, carefully trim away the excess batting as close to the tacking stitch as you can. Take your time and be careful not to clip into any of the stitches. |
|
|
|

|
Step 6 |
Check Your Progress Pause and take a look — your design should now look something like this, with the batting neatly tacked and trimmed inside the stitched outline. |
|
|
|

|
Step 7 |
Mark the Appliqué Placement Run the next machine step, which is the placement stitch for your appliqué. This outline shows you exactly where to lay down your first piece of appliqué fabric. |
|
|
|

|
Step 8 |
Add the Appliqué Fabric Place your first appliqué fabric directly over the placement stitches, being sure to cover the outline entirely. Smooth it flat so there are no wrinkles before the next step. |
|
|
|

|
Step 9 |
Tack Down the Appliqué Run the next machine step — the tacking stitch — which secures the appliqué fabric firmly to the design. |
|
|
|

|
Step 10 |
Trim the Appliqué Using your curved-tip embroidery scissors, trim away the excess appliqué fabric close to the tacking stitches, again taking care not to snip the stitching itself. |
|
|
|

|
Step 11 |
Check Your Progress Your design should now look similar to this, with the first appliqué piece tacked down and neatly trimmed. |
|
|
|

|
Step 12 |
Secure Any Remaining Appliqué Continue running the design’s steps to place, tack, and trim any remaining appliqué pieces the same way. Once all the appliqué is secured, your design should look like this. |
|
|
|

|
Step 13 |
Stitch the Design — Then Pause Go ahead and run the embroidery steps for the design, but STOP before the next tacking stitch runs. Use the design’s numbered machine steps as a guide so you know exactly where to pause. |
|
|
|

|
Step 14 |
Add the Back Fabric Remove the hoop from your machine and flip it over so the bobbin stitches on the back are facing you. Lay a piece of back fabric over the back of the design with its right side facing up, cover the stitches completely, and tape the fabric securely in place. |
|
|
|

|
Step 15 |
Tack the Back Fabric Return the hoop to your machine, being careful not to bunch up the fabric as you slide it in. Run the next machine step — the tacking stitch — to secure the back fabric. The back of your design should now look like this. |
|
|
|

|
Step 16 |
Trim the Back Fabric Using your curved-tip embroidery scissors, neatly trim away the excess back fabric, working close to the tacking stitches without snipping into them. |
|
|
|

|
Step 17 |
Wind a Coordinating Bobbin Once trimmed, the back of your design should look like this. Now STOP and wind a bobbin in a color that coordinates with the remaining steps — these will stitch the decorative satin edges, which show on both the front and back. |
|
|
|

|
Step 18 |
Finish the Satin Stitches With a matching bobbin swapped in for each color step, continue running the remaining steps to finish the embroidered elements. When you are done, your design should look something like this. |
|
|
|

|
Step 19 |
Remove from the Stabilizer To free your design from the hoop, gently tear it away from the Tear-Away stabilizer around the edges. |
|
|
|

|
Step 20 |
Your Design Is Finished! That’s it — your Free Standing design is now complete and ready to enjoy, gift, or turn into your next favorite project. |
|
|
|

|
💡 PRO TIP Notice a little Tear-Away pulp left around the edges? You can color it in with a marker to blend it away, or carefully trim it with curved-tip scissors — just be careful not to clip the stitches. |
|
Your Free Standing Design Is Complete! Quick to stitch and endlessly versatile — make patches, ornaments, cup cozies, gift tags, and more. |
Free Standing Designs | Anita’s Tutorials | Anita Goodesign