
|
ANITA GOODESIGN | Anita’s Tutorials Trapunto Quilt Block Master the trapunto technique — one puffed block at a time |
|
SKILL LEVEL Beginner Friendly |
HOOPINGS Single Hooping |
TECHNIQUE Trapunto |
|
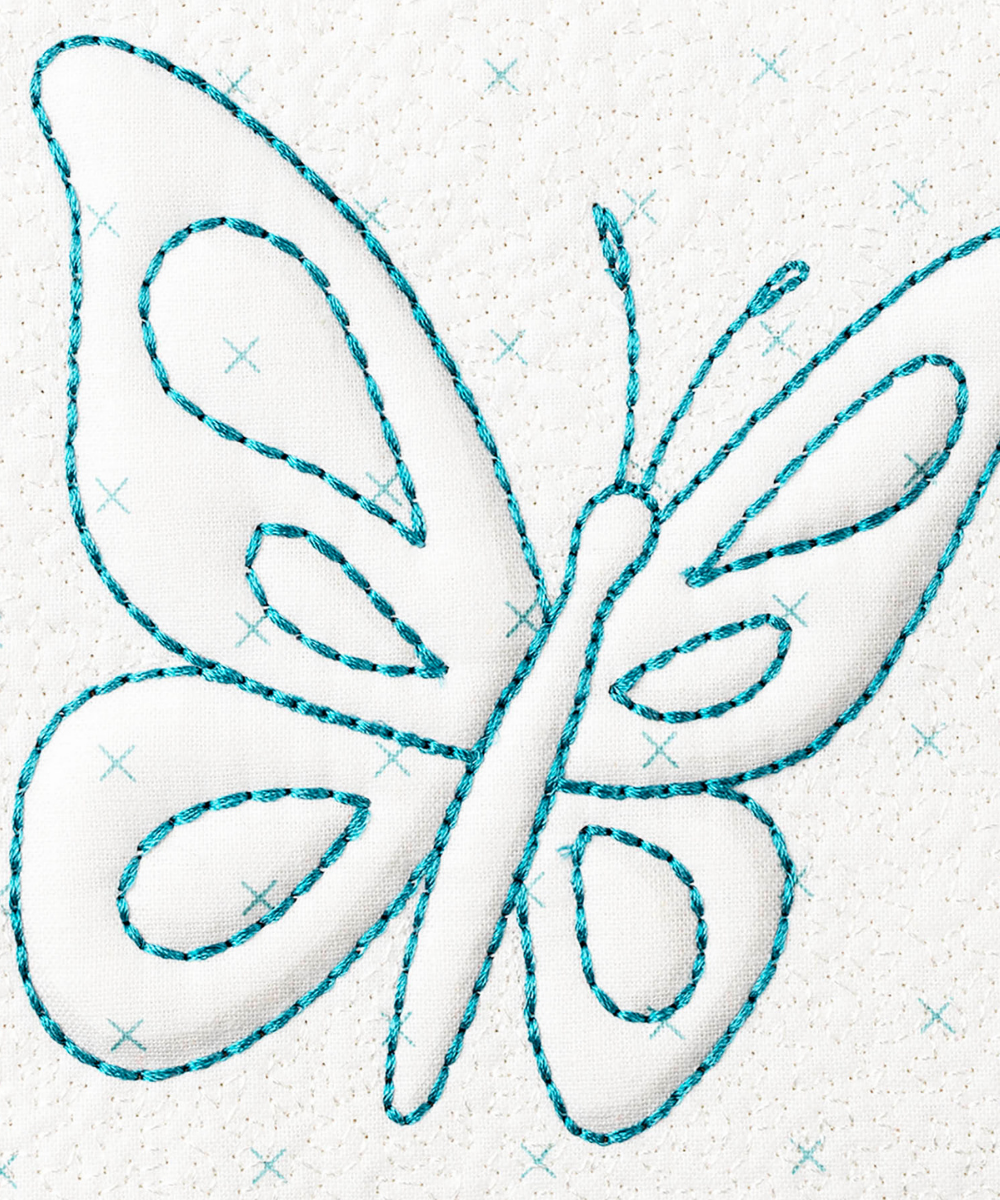
Trapunto — Italian for “to quilt” — is a traditional relief technique that adds a raised, “puffed” element to a quilt block, giving it extra dimension and depth. The effect is created by layering additional quilt batting underneath the base fabric in select areas of the design. In this tutorial we’ll walk you through making your very own trapunto block, one step at a time. By the end you’ll have added a beautiful little “puff” to your quilting skills — and you’ll be a master at it in no time. |
|
MATERIALS LIST |
|
◆ No-Show Mesh Stabilizer |
|
◆ Quilt batting (3 layers total) |
|
◆ Base fabric — enough to cover the block + 1/2" seam allowance on all sides |
|
◆ Embroidery threads |
|
◆ Curved-tip embroidery scissors |
|
◆ Ruler |
|
◆ Rotary cutter and mat |
|
◆ Embroidery hoop |
|
◆ 75/11 embroidery needle |
|
Step 1 |
Hoop Your Stabilizer Begin by hooping a piece of No-Show mesh stabilizer, pulling it drum-tight so there is no slack or puckering. This stabilizer is the foundation that every other layer is built on, so a firm, even hoop here keeps the whole block from shifting as you stitch. Helpful note: if your design loads in rotated (ours came in turned 90° to the left), you don’t have to rotate it back — you can simply stitch it as it pulled up, or rotate any design in Fundamentals if you prefer. |
|
|
|

|
Step 2 |
Run the Squaring Stitch Run the very first machine step, which is the squaring stitch. This single outline stitches a rectangle onto the stabilizer that marks exactly where your batting needs to go. Think of it as your placement guide — it shows you the boundaries to work within for everything that follows. |
|
|
|

|
Step 3 |
Place the Batting Lay a piece of quilt batting directly over the squaring stitches you just ran. Make sure the batting completely covers the stitched rectangle on all four sides, letting a little extra hang past the lines. Don’t worry about the overhang — you’ll trim it away neatly in a later step. |
|
|
|

|
Step 4 |
Tack Down the Batting Run the next machine step, which is the tacking stitch for the batting. This stitch sews the batting securely to the stabilizer so the layer can’t shift while you keep working. Once it finishes, your batting will be locked firmly in place along the outline. |
|
|
|

|
Step 5 |
Trim the Excess Batting Using a pair of curved-tip embroidery scissors, carefully trim away all the excess batting right up to the tacking-stitch line. The curved tips let you cut close and flat without snagging the stabilizer underneath. Take your time and trim cleanly — neat edges here give you a tidier finished block. |
|
Inset: once your block has been trimmed, it should look like this. |
|


|
Step 6 |
Add the Trapunto Batting Now for the step that creates the signature trapunto puff. Take two additional pieces of batting and stack them directly over the batting you just tacked and trimmed. These extra layers are what give select areas of the design their raised, dimensional look. |
|
|
|

|
Step 7 |
Tack the Trapunto Batting Run the next machine step, which tacks down the additional batting. This is the stitch that forms the puffed shape — you’ll see the raised design (here, a butterfly) begin to take shape in the batting. That concentrated padding is exactly what creates the trapunto effect. |
|
|
|

|
Step 8 |
Trim the Trapunto Batting Once the extra batting is tacked, trim away the excess right up to the tacking stitch with your curved-tip scissors, just as you did before. Work slowly around the puffed shape so you keep its clean, well-defined outline. |
|
Inset: once trimmed, the puffed area will look similar to this. |
|


|
Step 9 |
Add and Tack the Base Fabric Lay your base fabric over the block with the right side facing up. Be sure it covers the entire block with at least a 1/2" of extra fabric (your seam allowance) all the way around, then smooth it flat. Run the next machine step to tack the base fabric down over all of the layers beneath it. |
|
Inset: your tacked block should look like this. |
|


|
Step 10 |
Stitch the Embroidery Design Continue running the remaining embroidery steps, following your design’s numbered machine steps and changing thread colors whenever the machine indicates. As the stitching builds up, the quilted design appears across the base fabric, with the trapunto areas standing up in soft relief. |
|
|
|

|
Step 11 |
Trim the Finished Block When the design has finished stitching, remove the block from the hoop. Using a ruler and rotary cutter on a cutting mat, trim away the excess stabilizer and fabric, leaving a 1/2" seam allowance on all sides. This squares up your block so it’s ready to piece into a project. |
|
|
|

|
Step 12 |
Your Trapunto Block Is Complete That’s it — your trapunto block is finished! The raised, puffed design gives it a beautiful dimensional texture that sets trapunto apart from flat quilting. It’s now ready to show off on its own or to combine with other blocks in a larger project. |
|
|
|

|
💡 PRO TIP The puff comes entirely from those extra batting layers, so trim them cleanly right to the tacking stitch. Crisp, close trimming around the trapunto area keeps the raised shape sharp and well defined in your finished block. |
|
Your Trapunto Block Is Complete! Once you feel the dimension trapunto adds, you’ll want to puff up every block. Mix, match, and make it yours. |
Trapunto | Anita’s Tutorials | Anita Goodesign