
|
ANITA GOODESIGN | Anita's Tutorials Embroidery on Paper Stitch one-of-a-kind cards — far more special than store-bought |
|
SKILL LEVEL Beginner Friendly |
HOOPINGS Single Hooping |
TECHNIQUE Paper Embroidery |
|
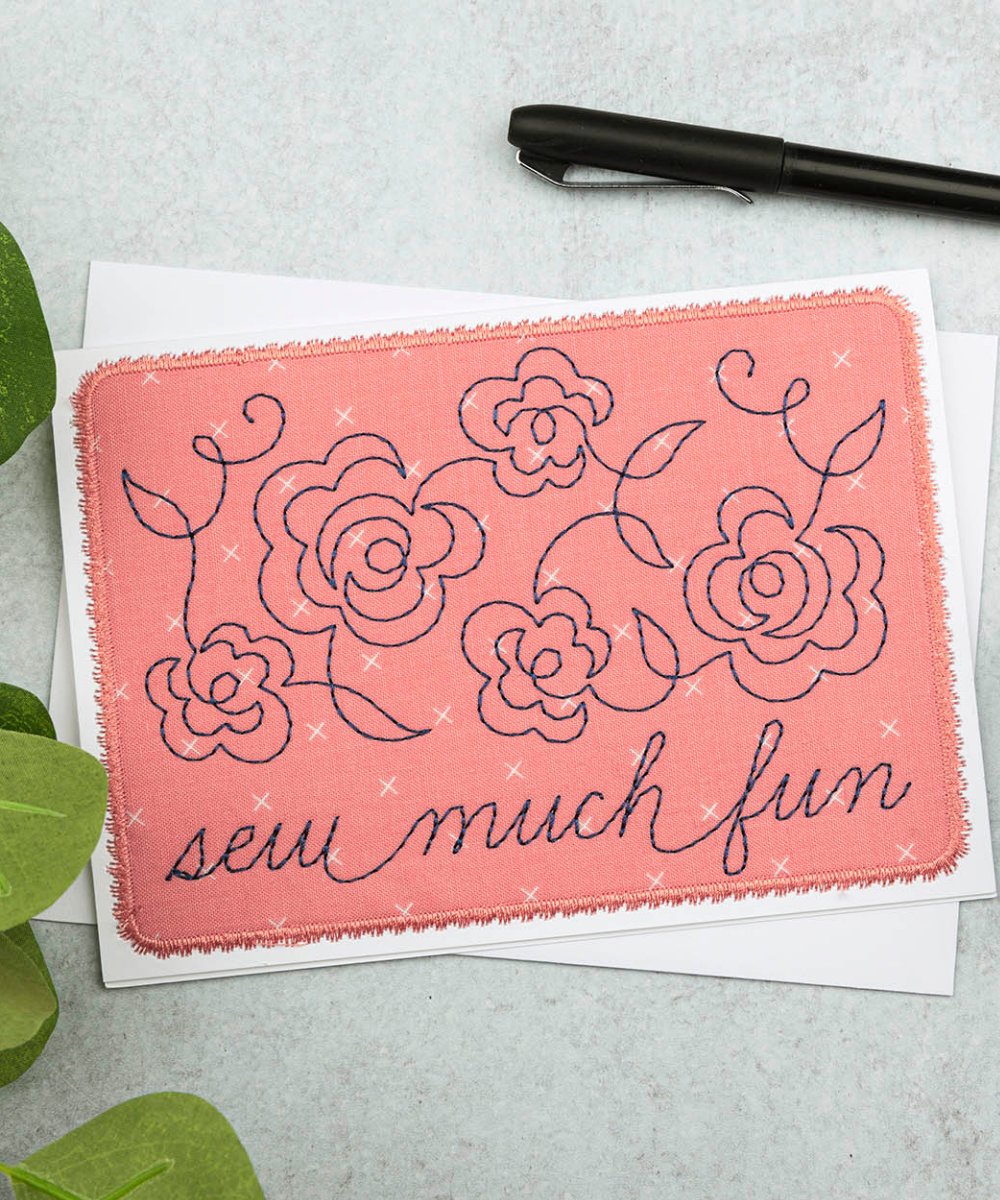
Embroidering on paper is a neat technique that involves machine stitching onto card stock or scrapbook paper. Each card-related embroidery design offers a placement stitch for the base paper product — usually a blank 5" x 7" card. Some designs also include a base fabric that is applied over the front of the card, adding extra dimension and a handmade feel. You can also glue or spray-adhere a decorative paper to the inside of your card to conceal the bobbin stitches. Create a mixture of fun holiday or birthday cards using this technique — and rest assured they'll be far more special than any store-bought card! |
|
MATERIALS LIST |
|
◆ Tear-Away stabilizer |
|
◆ 5" x 7" blank card or cardstock |
|
◆ Cotton base fabric |
|
◆ Embroidery threads |
|
◆ Curved-tip embroidery scissors |
|
◆ Embroidery tape |
|
◆ Embroidery hoop |
|
◆ 75/11 embroidery needle |
|
Step 1 |
Hoop Your Stabilizer To begin, hoop a piece of Tear-Away stabilizer, pulling it drum-tight in the hoop. This stabilizer is the foundation that supports every stitch, so make sure there's no slack or puckering before you start. |
|
|
|

|
Step 2 |
Run the Placement Stitch Run the first machine step. This stitches a placement outline directly onto the stabilizer, showing you exactly where to position your card in the next step. |
|
|
|

|
Step 3 |
Position Your Card Lay your blank card right side up over the placement stitch, lining it up inside the stitched outline. A few small pieces of embroidery tape will hold the cardstock steady while it stitches. Watch the orientation carefully — if you're using a card that opens, make sure the front of the card is the side laid into the placement stitches. |
|
|
|

|
Step 4 |
Tack Down the Card Run the next machine step to tack the cardstock securely to the stabilizer, then gently peel away any tape you used. This tacking outline also marks exactly where to lay your base fabric in the next step. |
|
|
|

|
Step 5 |
Add the Base Fabric Lay your base fabric right side up over the front of the card, making sure it covers the card's front on all sides. Run the next tacking stitch to lock the fabric in place over the card. |
|
|
|

|
Step 6 |
Trim the Excess Fabric Using a pair of curved-tip embroidery scissors, carefully trim away the excess fabric right up to the tacking stitch line. Take your time and avoid clipping the stitches — clean trimming here gives your finished card a neat, professional edge. |
|
|
|

|
Step 7 |
Check Your Trimming Once trimmed, your base fabric should look like this — a clean panel of fabric tacked neatly within the stitched outline, ready for the decorative embroidery. |
|
|
|

|
Step 8 |
Stitch the Decorative Design Following your design's numbered machine steps, change thread colors as indicated and run the remaining decorative embroidery. Watch the design come to life across the fabric front of your card. |
|
|
|

|
Step 9 |
Remove and Flip Once the machine has finished stitching, remove the design from the hoop. Flip the card over so the back side is facing up, ready for cleanup. |
|
|
|

|
Step 10 |
Trim the Back Use your curved-tip scissors to trim along the edge stitching on the back of the design, removing all the excess stabilizer for a clean, tidy reverse side. |
|
|
|

|
Step 11 |
Finished Card Your embroidered card is now finished! The fabric-fronted design gives it a beautiful handmade, dimensional look that's ready to gift or display. |
|
|
|

|
💡 PRO TIP To finish the inside of your card, hot-glue or spray-adhere a piece of festive or themed scrapbook paper or cardstock over the back. This neatly conceals the bobbin stitches and gives your card a polished, store-quality finish. |
|
Your Embroidered Card Is Complete! Once you make one, you'll want to stitch a whole set — mix colors, designs, and papers to make every card your own. |
Embroidery on Paper | Anita's Tutorials | Anita Goodesign