
|
ANITA GOODESIGN | Anita’s Tutorials Free Standing Lace Master the lace technique — one delicate design at a time |
|
SKILL LEVEL Beginner Friendly |
HOOPINGS Single Hooping |
TECHNIQUE Free Standing Lace |
|
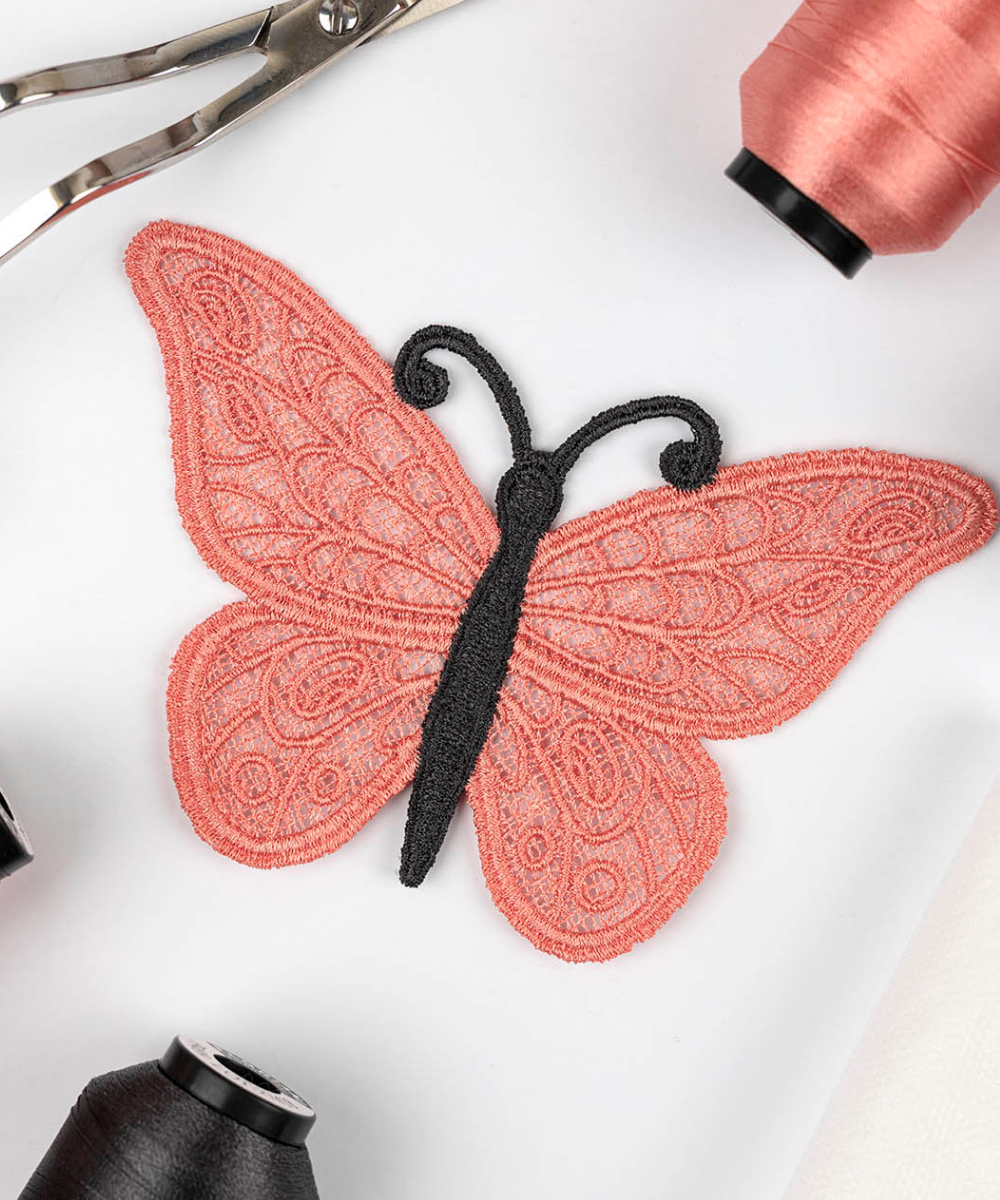
Free standing lace designs are embroidered directly onto a water-soluble stabilizer — with no base fabric underneath. Once the stitching is rinsed in hot water the stabilizer dissolves completely, leaving you with a delicate, self-supporting lace piece. These designs are specially digitized with an adjusted stitch density so the threads lock securely to the bobbin thread and hold their shape entirely on their own. The possibilities are endless. Hand-sew several lace shapes together into a runner, frame them as one-of-a-kind home decor, tie them onto a gift, or arrange them into a stunning lace mosaic on your wall. The very same designs can even be stitched onto fabric as standard embroidery. |
|
MATERIALS LIST |
|
◆ Wash-Away water-soluble stabilizer — 2 pieces |
|
◆ Embroidery threads |
|
◆ Coordinating bobbin thread |
|
◆ Embroidery hoop |
|
◆ 75/11 embroidery needle |
|
Step 1 |
Hoop Your Stabilizer Layer two pieces of Wash-Away water-soluble stabilizer and hoop them together as a single unit. Pull the stabilizer drum-tight so there is no slack — a firm, even surface is what keeps your lace stitches crisp and accurate. Note: two layers give most freestanding designs the support they need, but if you are working in a 5” x 7” hoop or smaller, a single layer is usually enough. |
|
|
|

|
Step 2 |
Stitch the Lace Design Load your free standing lace design and begin stitching. Because there is no fabric beneath the needle, the machine builds the entire piece from thread alone, layering the outlines and fills directly onto the stabilizer. Let each color sequence finish completely before moving on to the next. |
|
|
|

|
Step 3 |
Match Your Bobbin Colors Because a finished lace piece is seen from both sides, the bobbin thread shows just as much as the top thread. Each time you change the top thread color, swap in a bobbin wound in a matching color (shown in the close-up here). Coordinating the two keeps the front and back of your lace looking identical and polished. |
|
|
|

|
Step 4 |
Remove, Trim & Rinse Once the stitching is complete, take the hoop off the machine and remove your design from the hoop. Trim away the excess stabilizer from around the edges. Then rinse the design in hot water, gently rubbing the stitches until every trace of stabilizer has dissolved away. Lay the piece flat to dry. |
|
|
|

|
Step 5 |
Your Lace Is Finished! Once it is dry, your free standing lace is complete — a delicate, self-supporting design with no stabilizer left behind. It is now ready to frame, gift, or sew into your next project. |
|
|
|

|
💡 PRO TIP Always confirm your design is digitized specifically for free standing lace before you begin. These designs use a special high-density structure so the stitches lock to one another and keep their shape after rinsing. A standard embroidery design that has not been digitized this way will simply unravel once the stabilizer washes out. |
|
Your Free Standing Lace Is Complete! Frame it, gift it, or stitch a whole set — with free standing lace, the possibilities are endless. |